GCR POS — Merchant Portal (Client Manual)
The Merchant Portal (https://portal.gcrpos.com) is the web panel for managing your business: sales, catalog, inventory, tables, customers, employees, permissions and settings. Sign in with your Owner account or an employee account with portal access.
The portal is the source of truth: whatever you configure here (products, prices, taxes, employees, permissions, payment methods) syncs down automatically to every terminal of the store. On the POS you can force it with Settings → Cloud Sync → Sync Now.
1. General layout
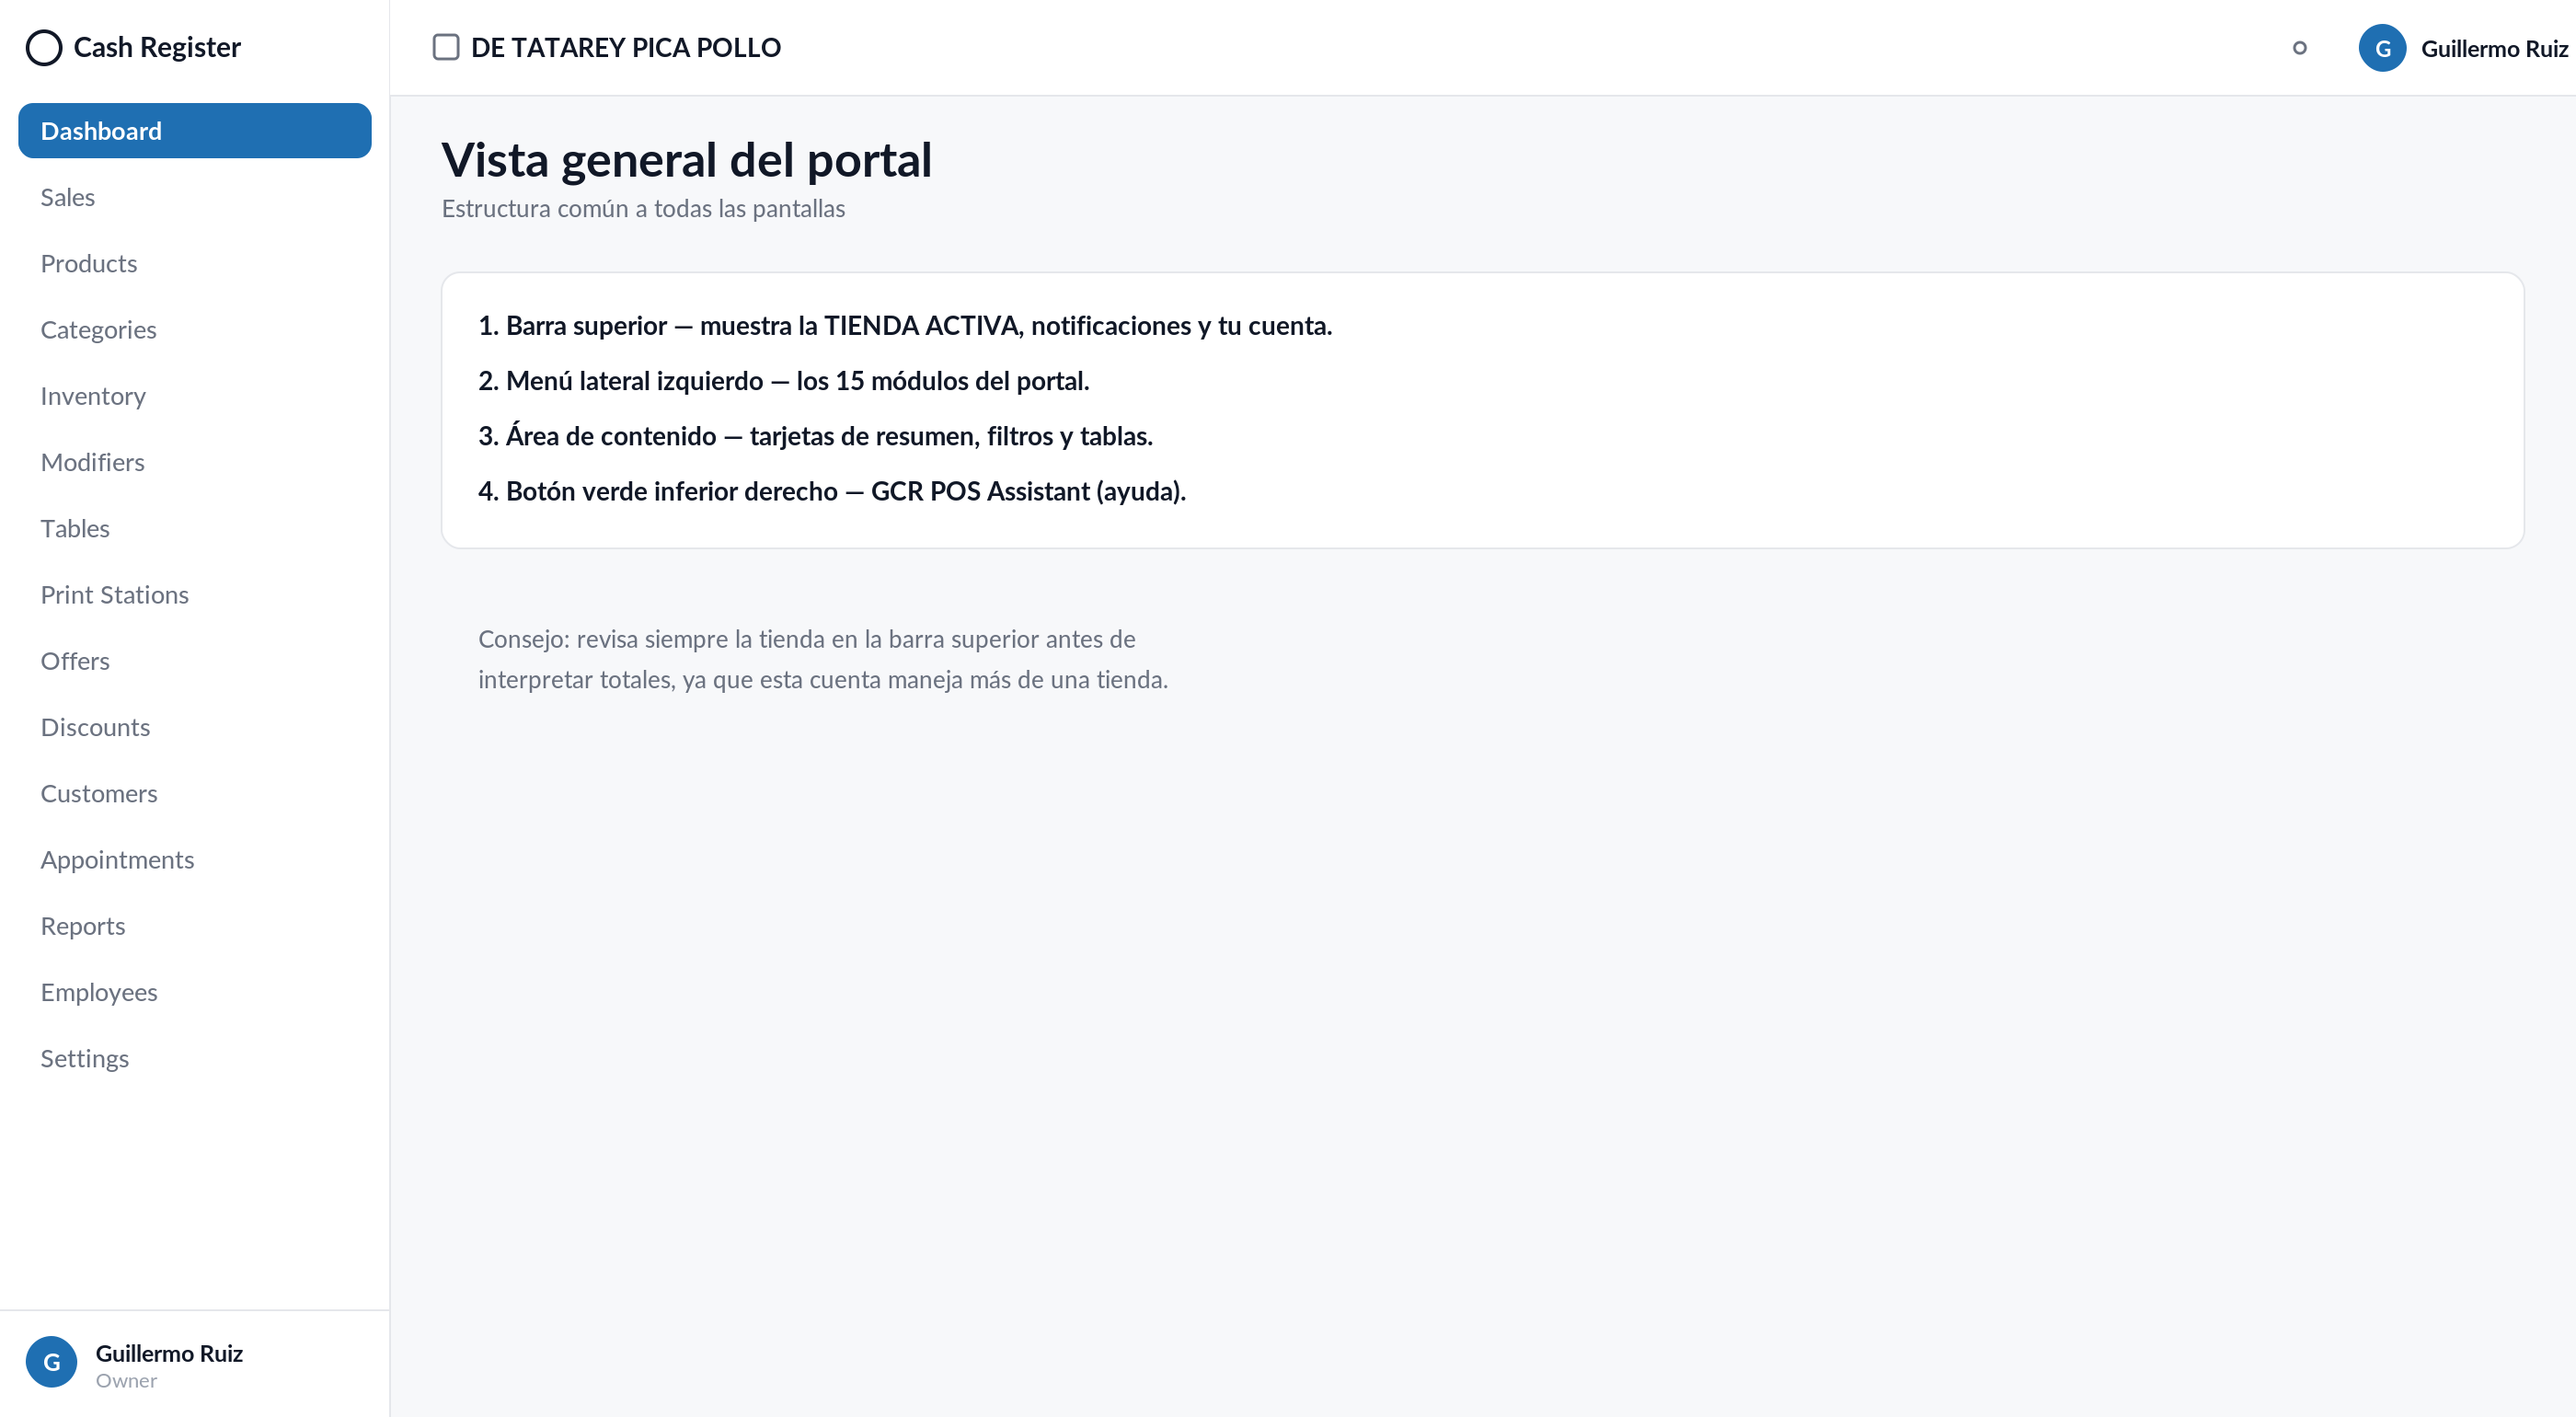
- Left sidebar: the portal modules.
- Top left corner: the active store (if your account has several stores, pick it here; every module shows that store).
- Top right corner: notifications and your account.
- Green floating button "GCR POS Assistant": help chat.
| Module | Purpose |
|---|---|
| Dashboard | Day summary and quick actions. |
| Sales | Sales history and per-sale detail. |
| Products | Catalog, prices, stock, bulk import. |
| Categories | Catalog/menu categories. |
| Inventory | Stock, movements and adjustments. |
| Modifiers | Menu modifier groups. |
| Tables | Tables and floor plan. |
| Print Stations | Kitchen-ticket routing. |
| Offers | Quantity offers ("X for $Y"). |
| Discounts | POS discount presets. |
| Customers | Customers and loyalty. |
| Appointments | Appointment agenda / front desk. |
| Reports | Sales reports. |
| Employees | Employees and the role/permission matrix. |
| Settings | System configuration (includes Delivery Integrations). |
| Storefront | Your own online store at shop.gcrpos.com (orders, bookings, shop). |
2. Dashboard
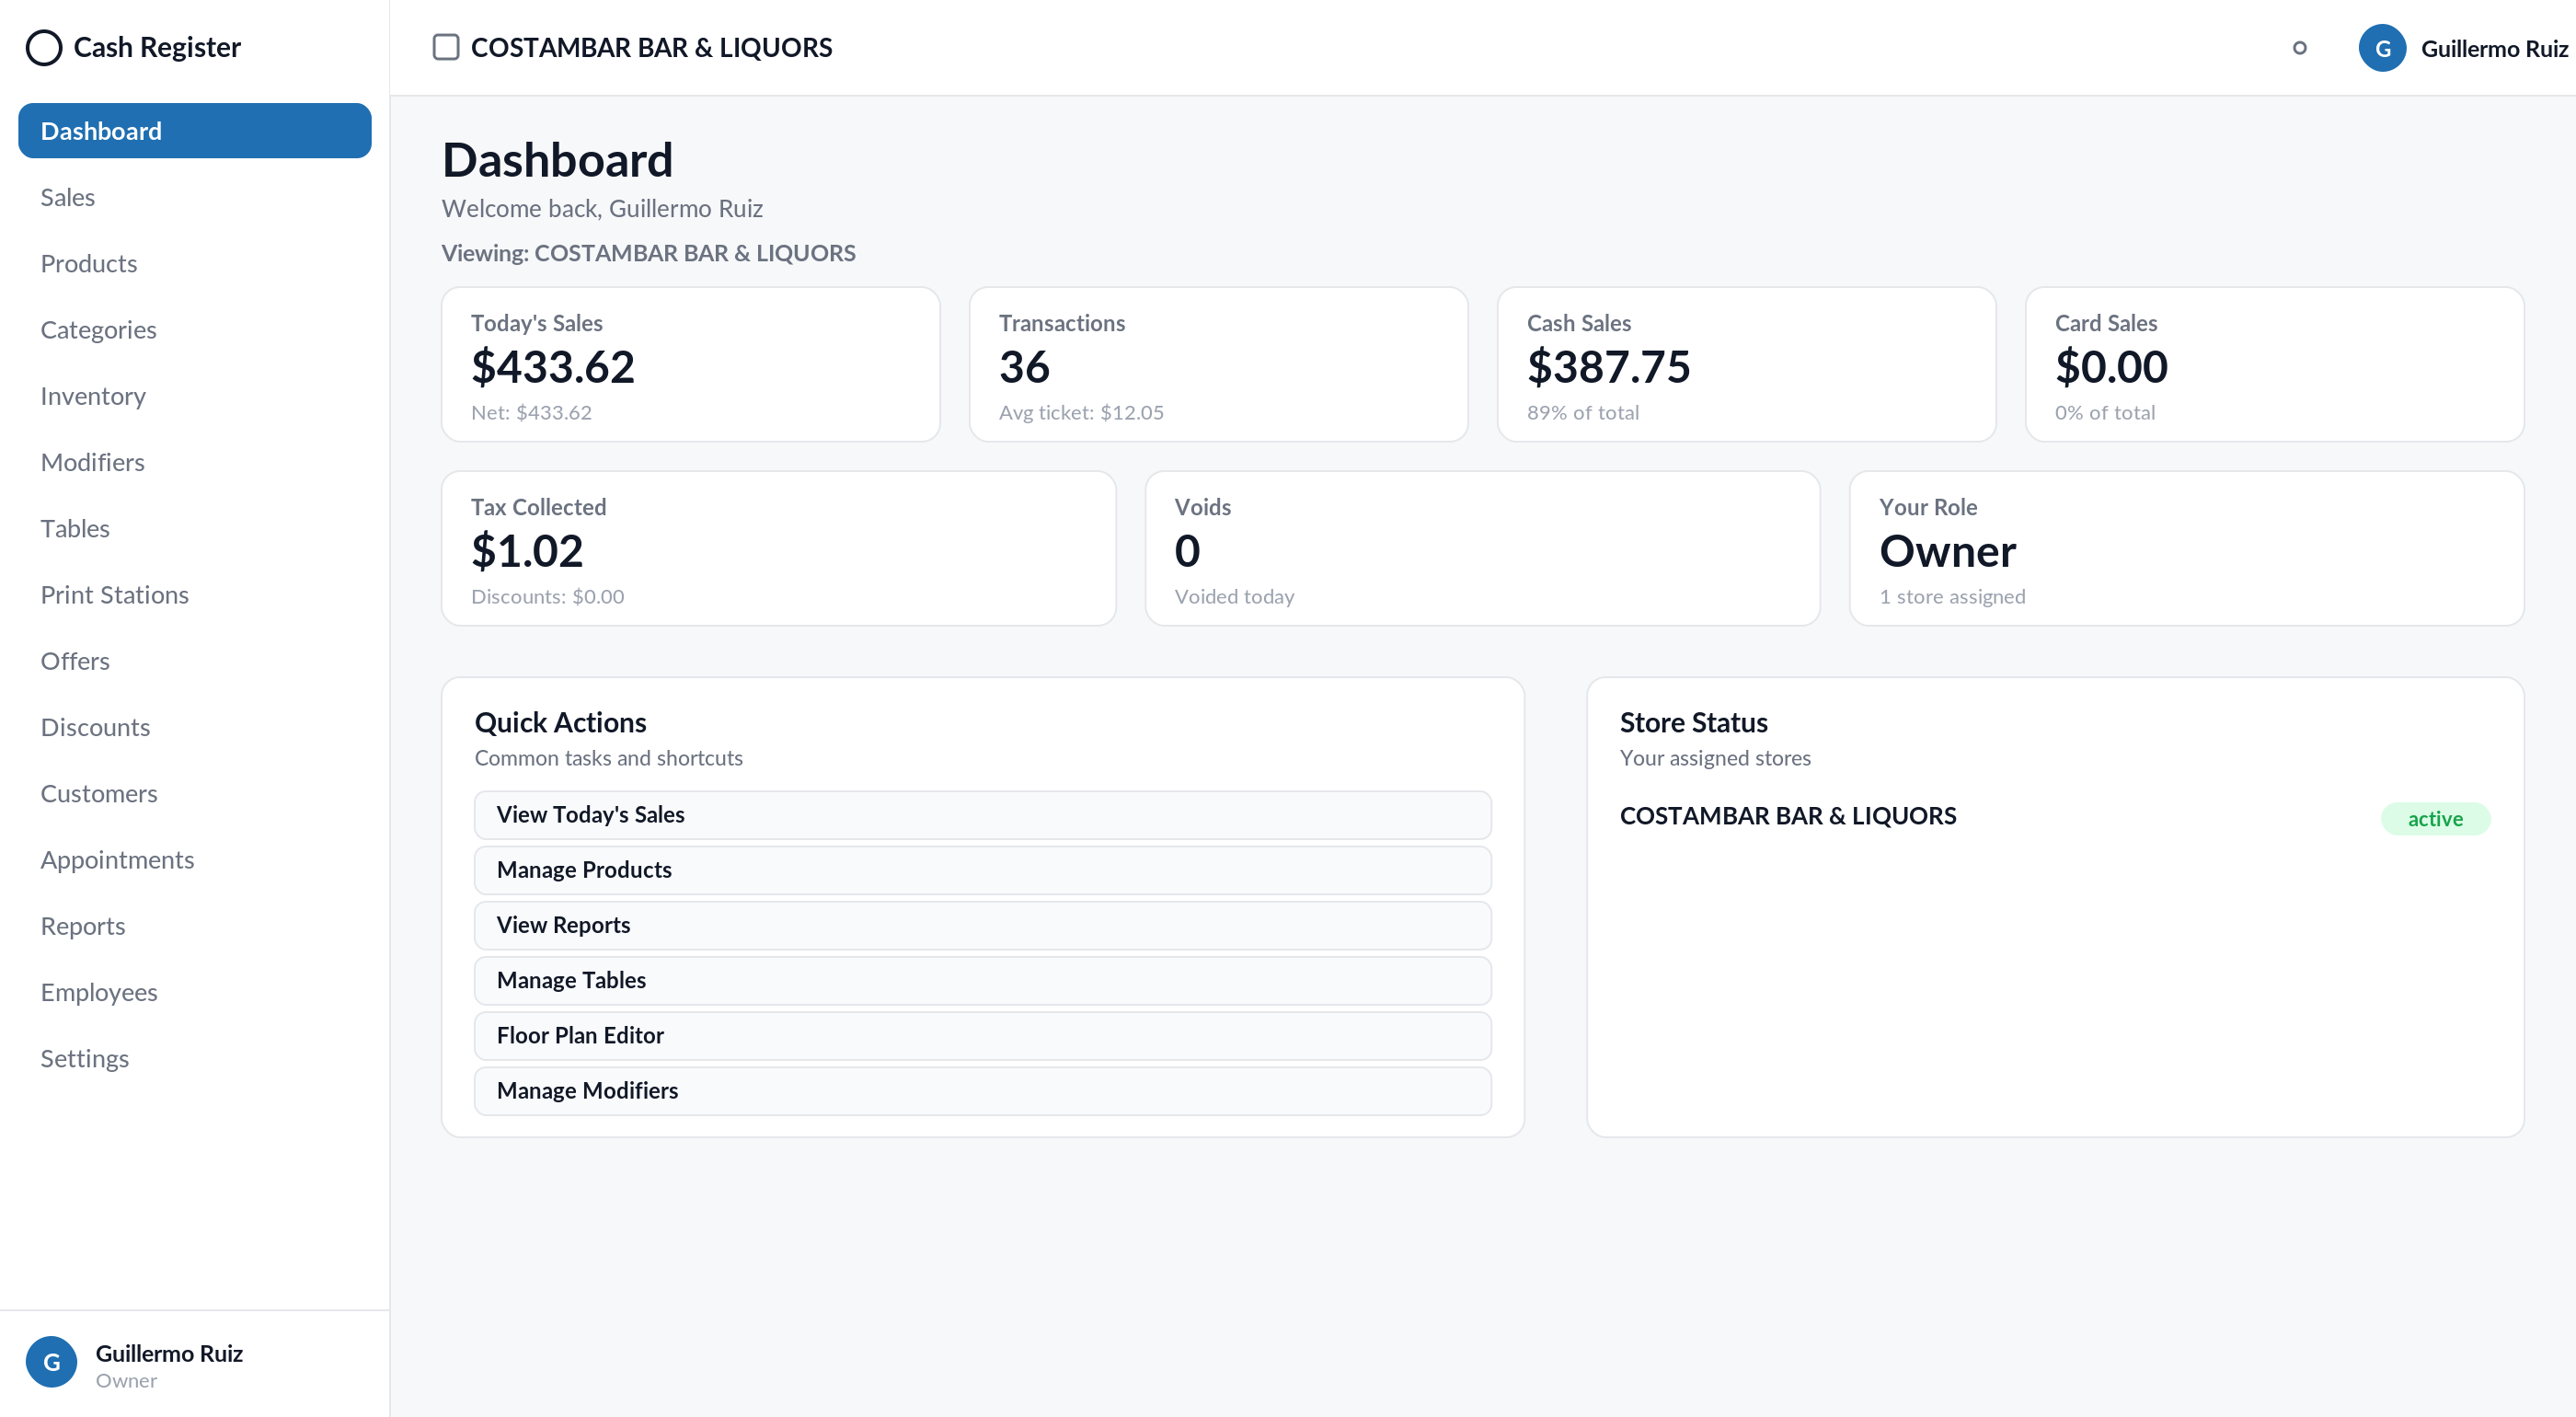
Today's indicators: Today's Sales, Transactions (with average ticket), Cash Sales, Card Sales, Tax Collected, Voids and your role. Quick Actions jump to today's sales, products, reports, tables, floor plan editor and modifiers. Below, the status of your assigned stores.
3. Sales
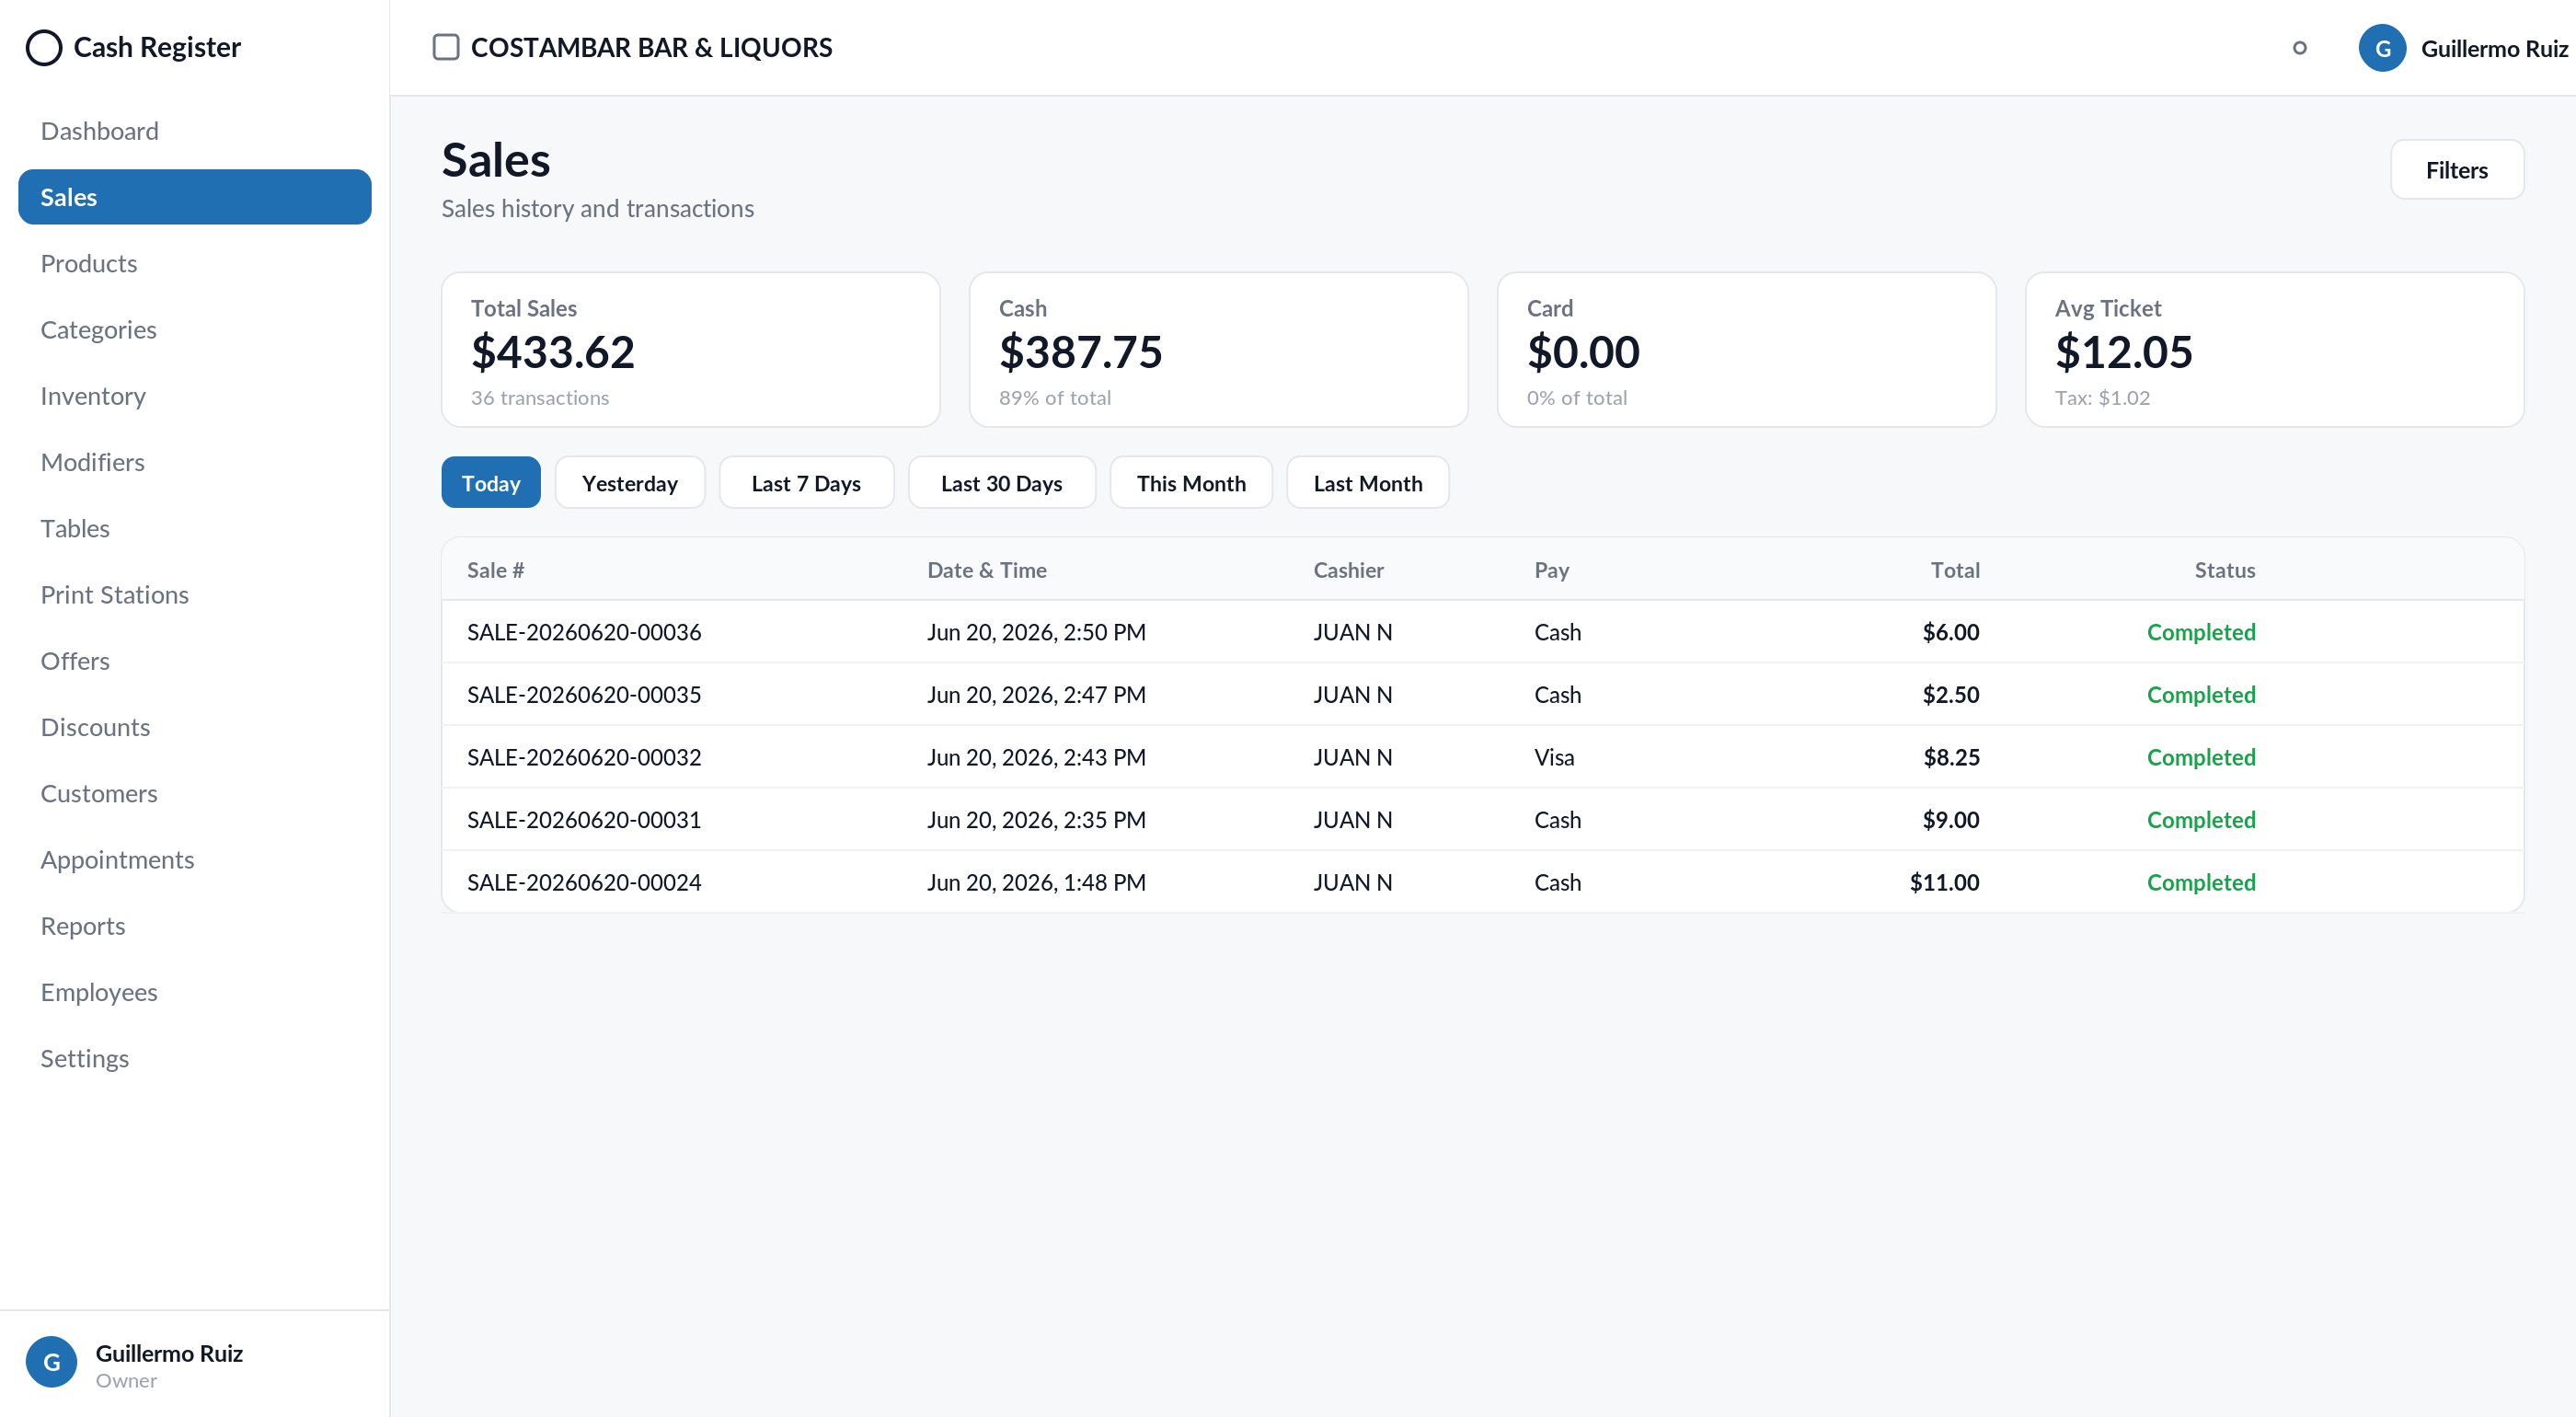
- Summary cards (Total Sales, Cash, Card, Avg Ticket) plus the transactions table.
- Quick ranges: Today, Yesterday, Last 7 Days, Last 30 Days, This Month, Last Month; search by sale number or cashier, plus filters.
- Columns: Sale #, date/time, cashier, terminal, payment, subtotal, tax, total, status.
The Actions icon opens the full detail:
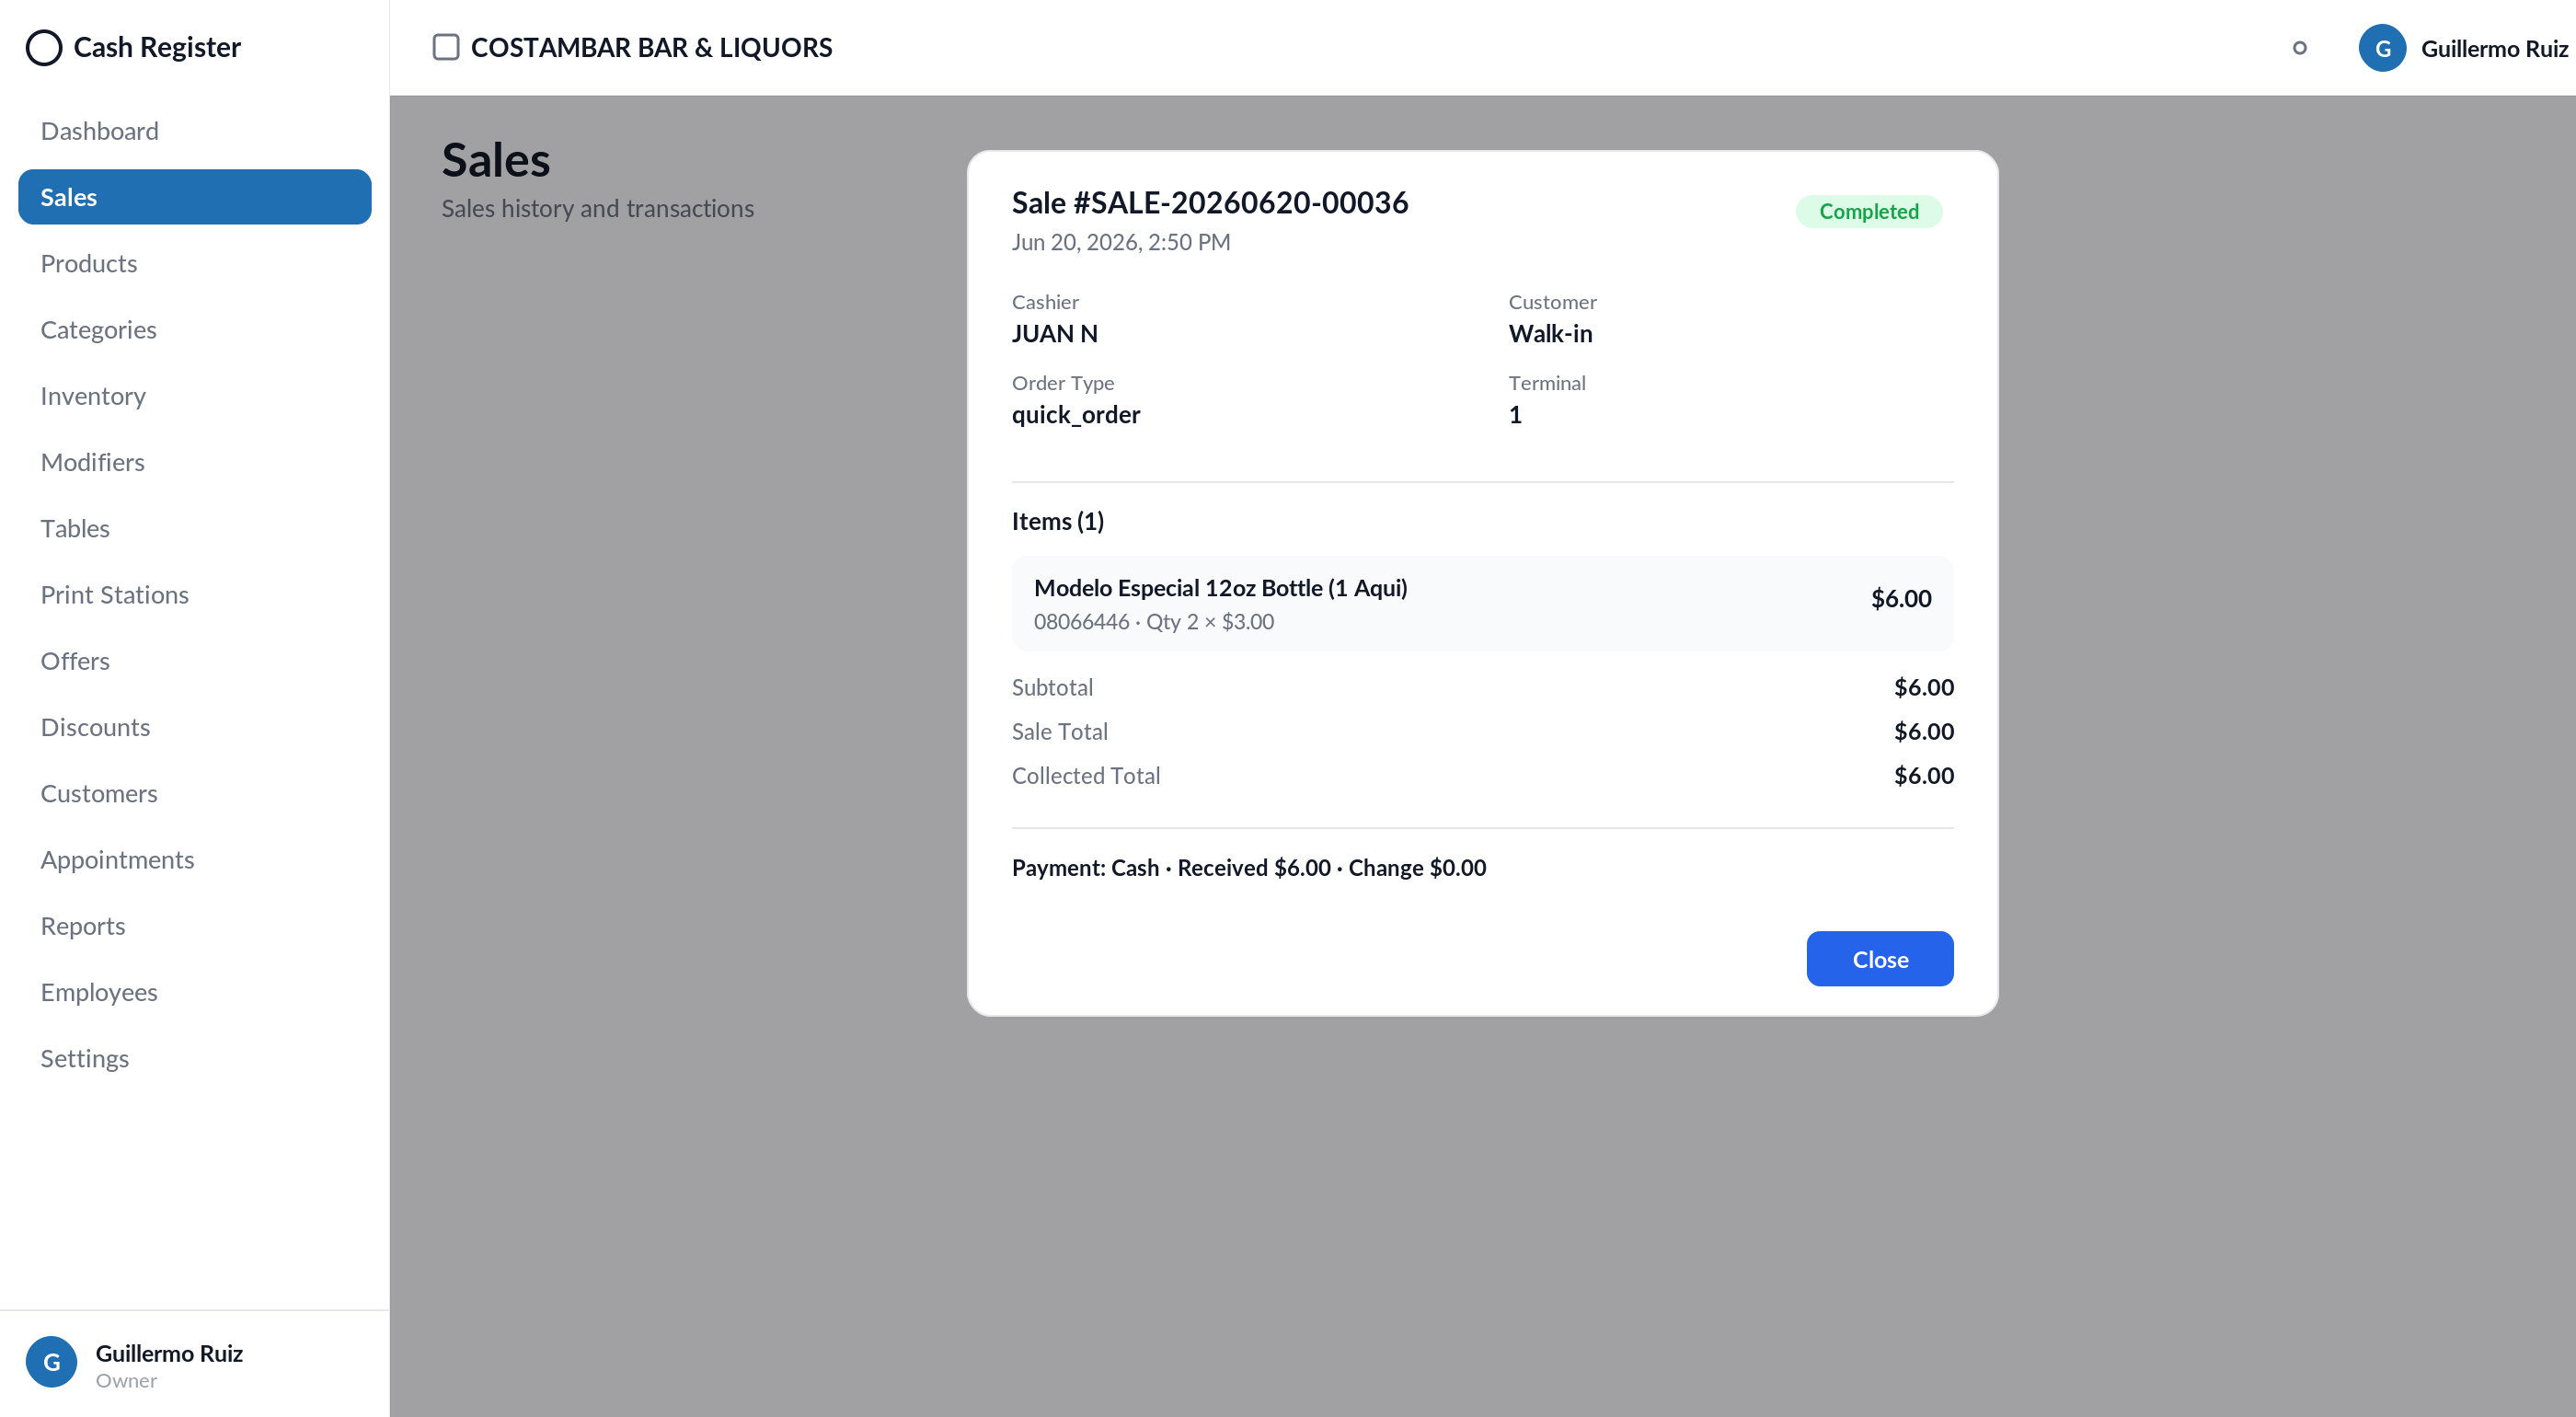
Header (sale, date, status, cashier, register, customer, order type, terminal, totals), the items (product, quantity, price) and the payments (type, base, processed, cash received, change given).
4. Products (catalog)
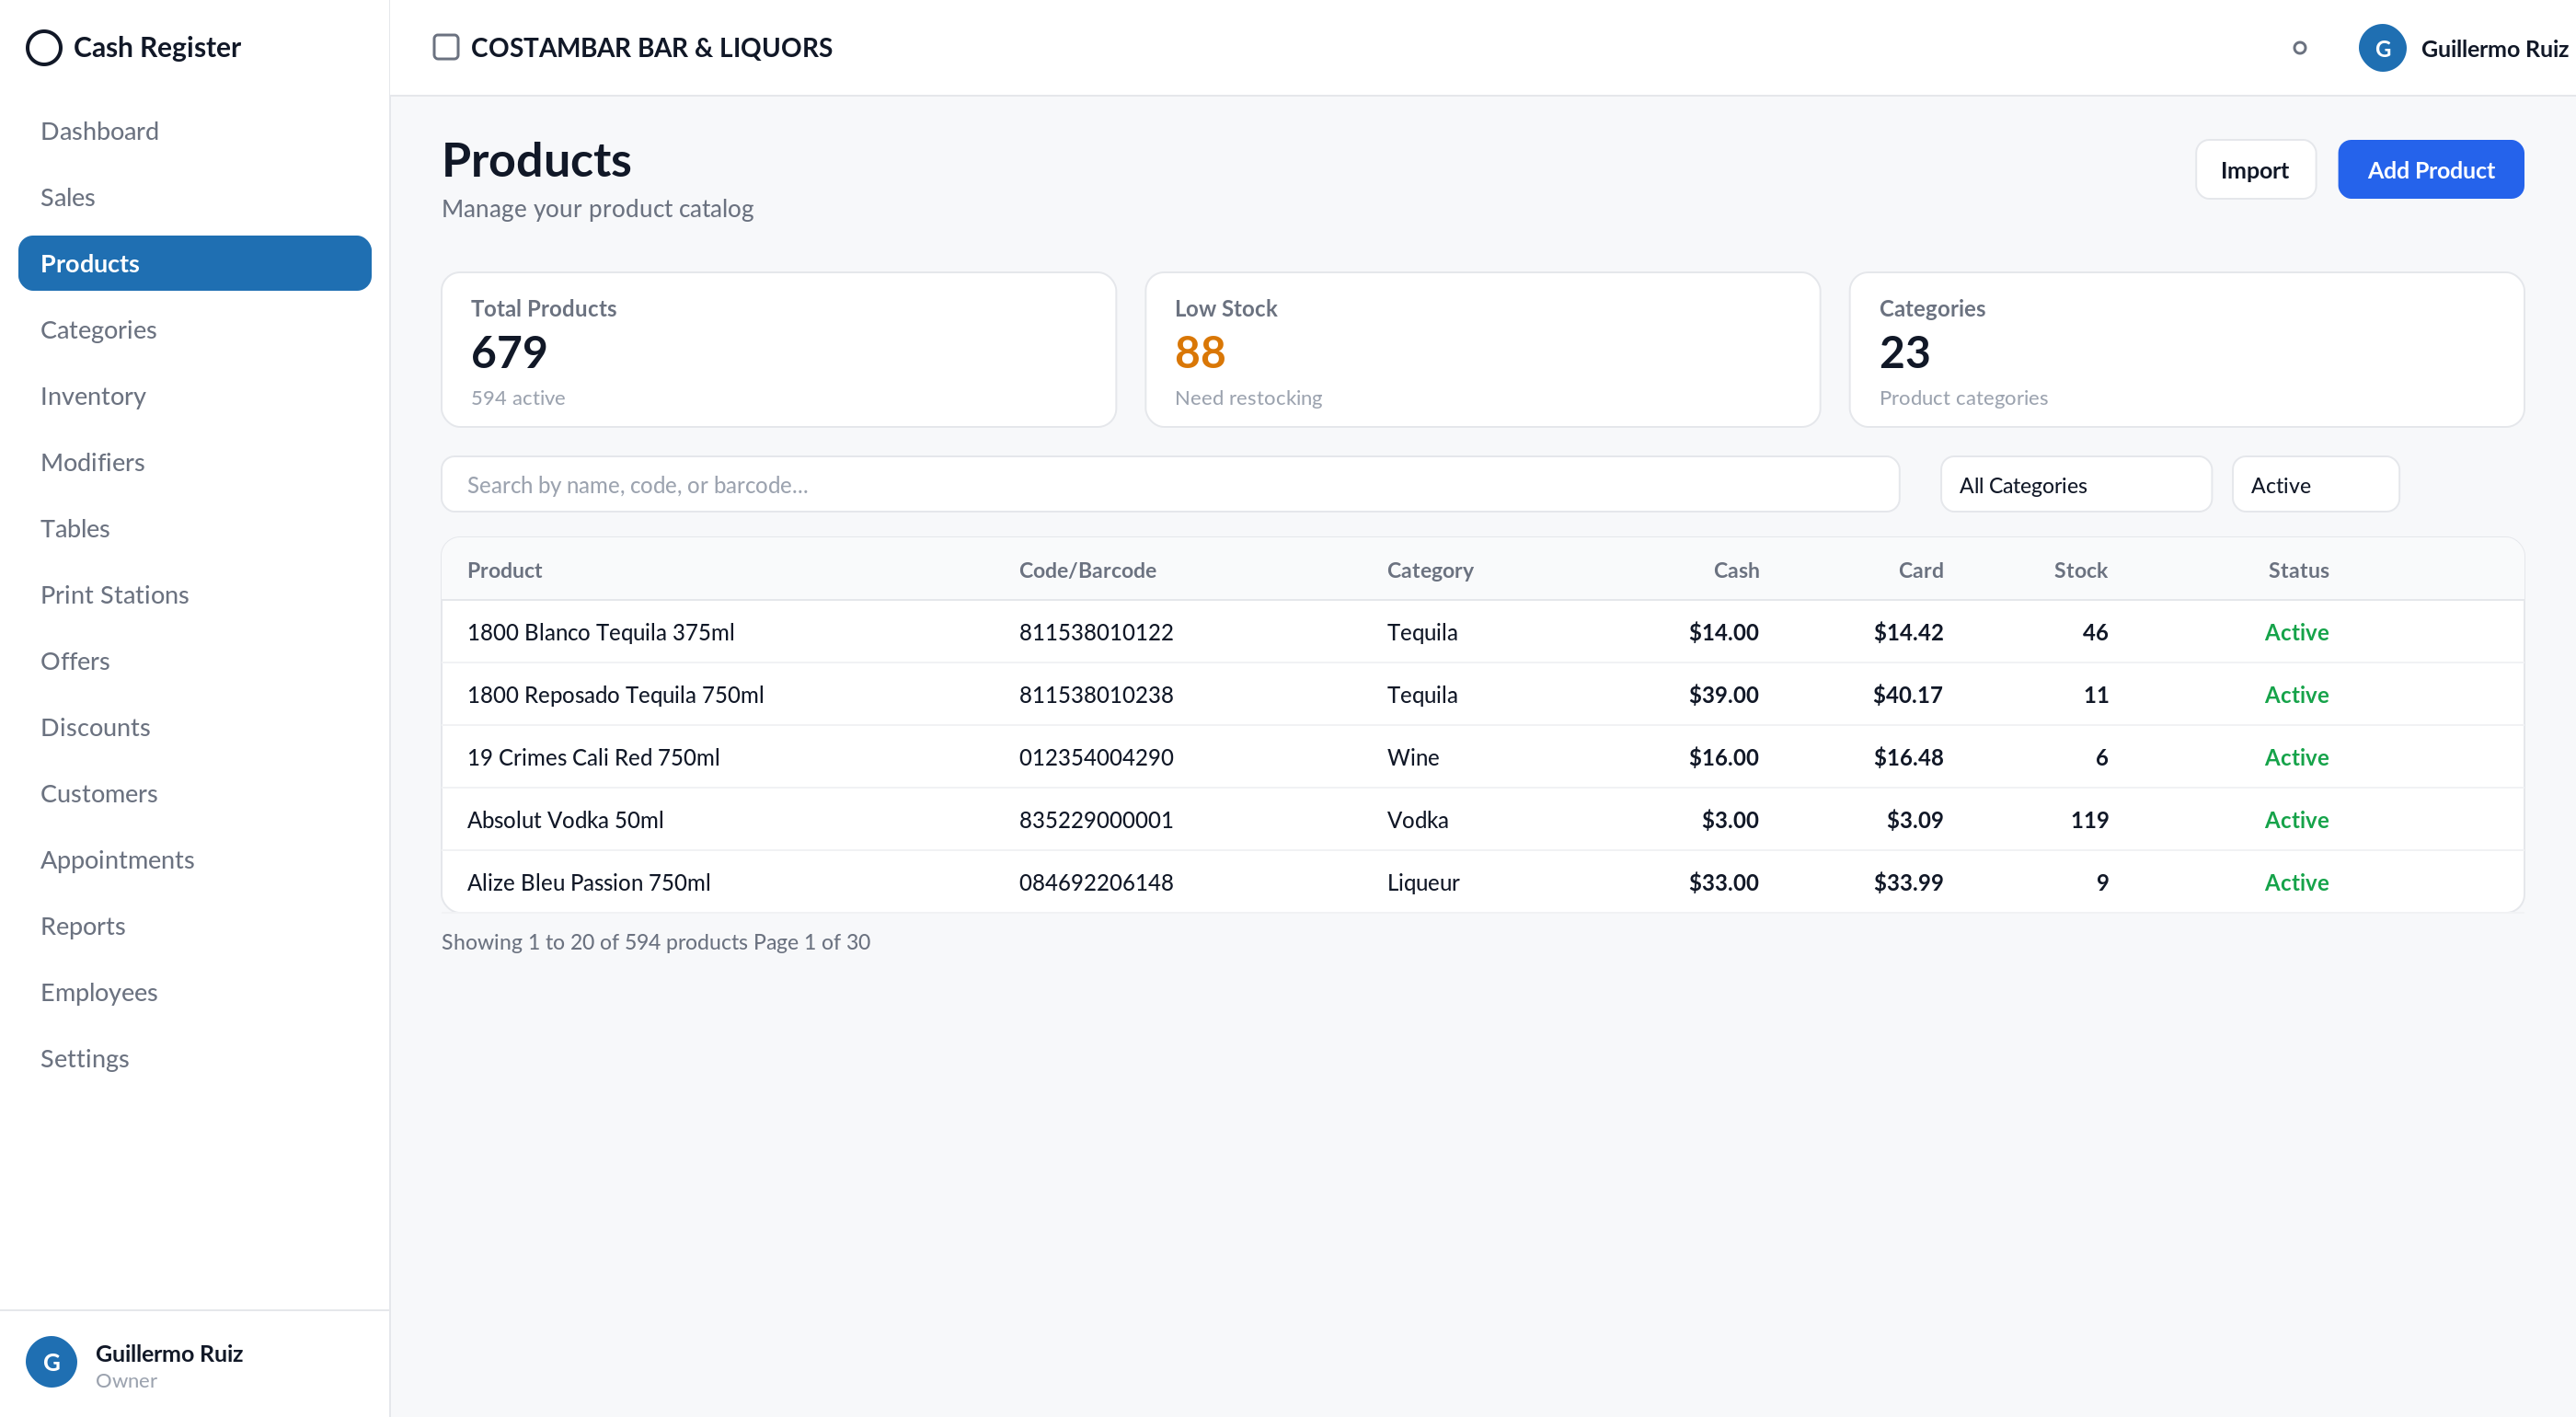
- Cards: Total Products, Low Stock, Categories.
- Search by name, code or barcode; filter by category and status; per-row edit and delete. Prices show both Cash and Card.
- Bulk edit: select several products to change prices, category or status in one step.
Adding a product
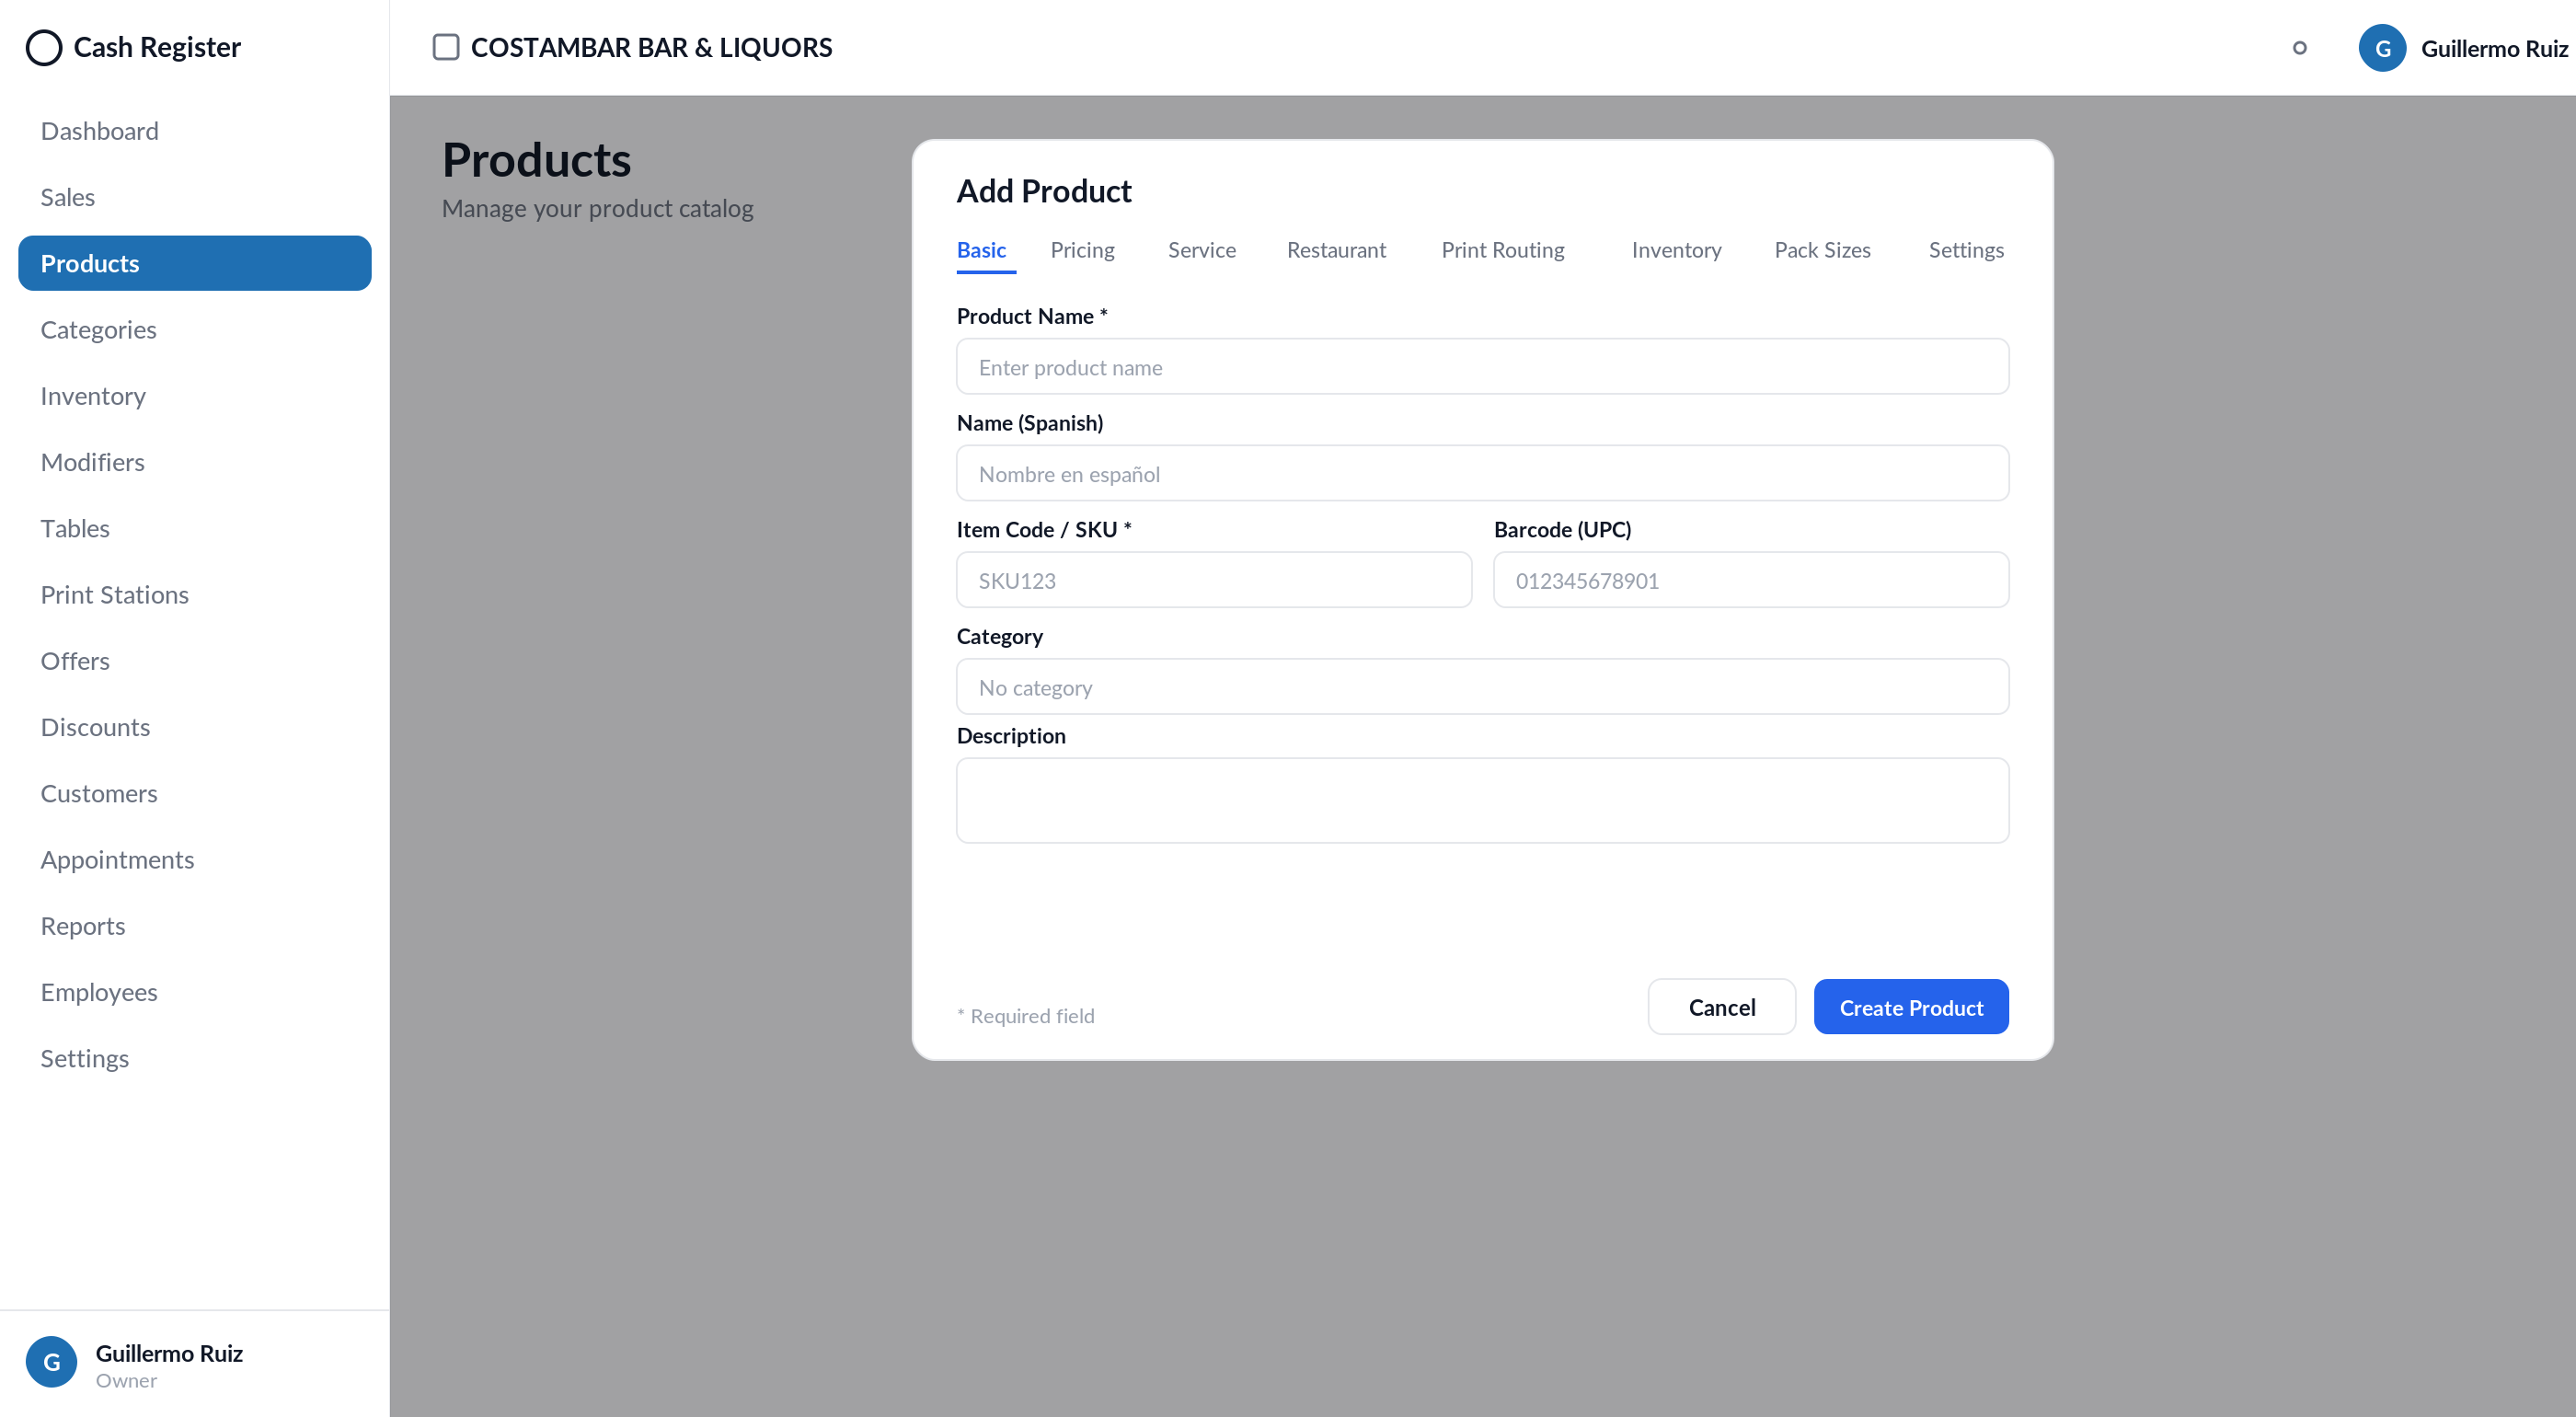
Add Product opens the tabbed form: Basic (name, Spanish name, SKU, barcode, category, description), Pricing (cash/card prices, cost, taxes), Service, Restaurant (modifiers, routing), Print Routing, Inventory, Pack Sizes and Settings (EBT, scale, photo).
Importing products
Import is a 4-step wizard — Upload → Map Columns → Preview → Import —
accepting .xlsx, .xls, .csv, .txt and .tsv. Ideal for catalog
migrations.
5. Categories
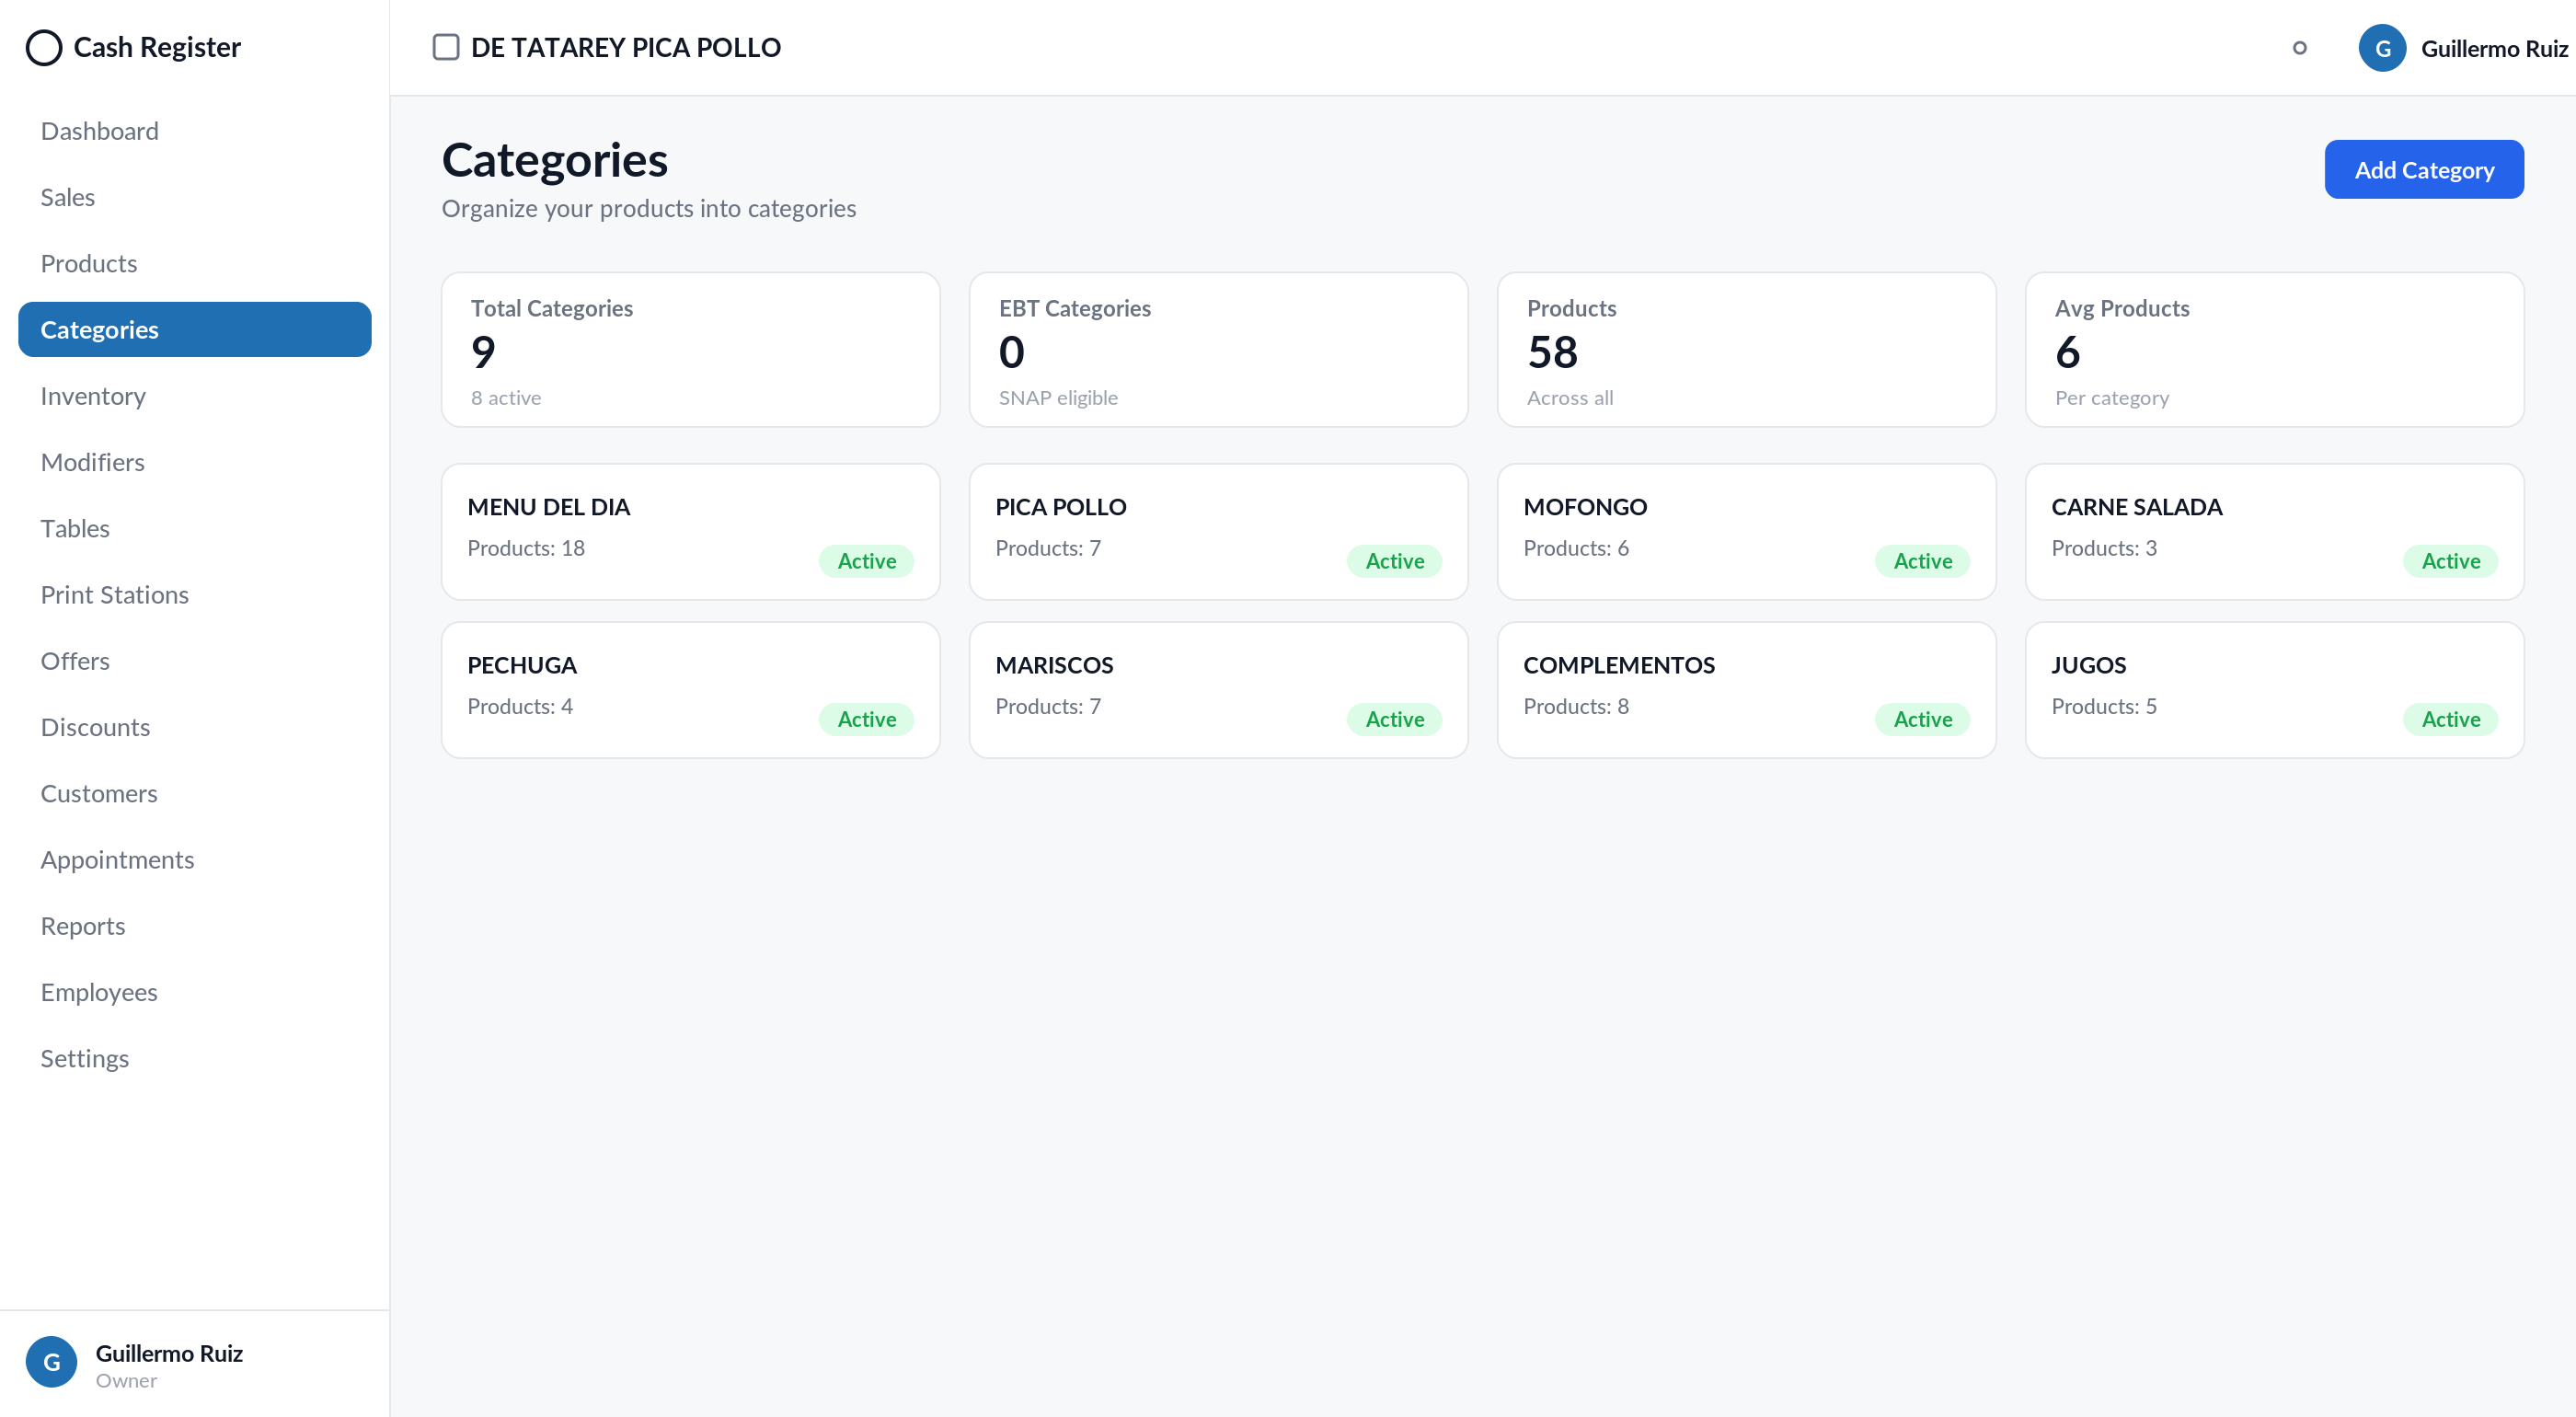
Catalog/menu categories with product counts and status. Here you mark a category as EBT and can set the per-category tax override (tri-state: inherit / taxed / not taxed). Add Category creates new ones.
6. Inventory
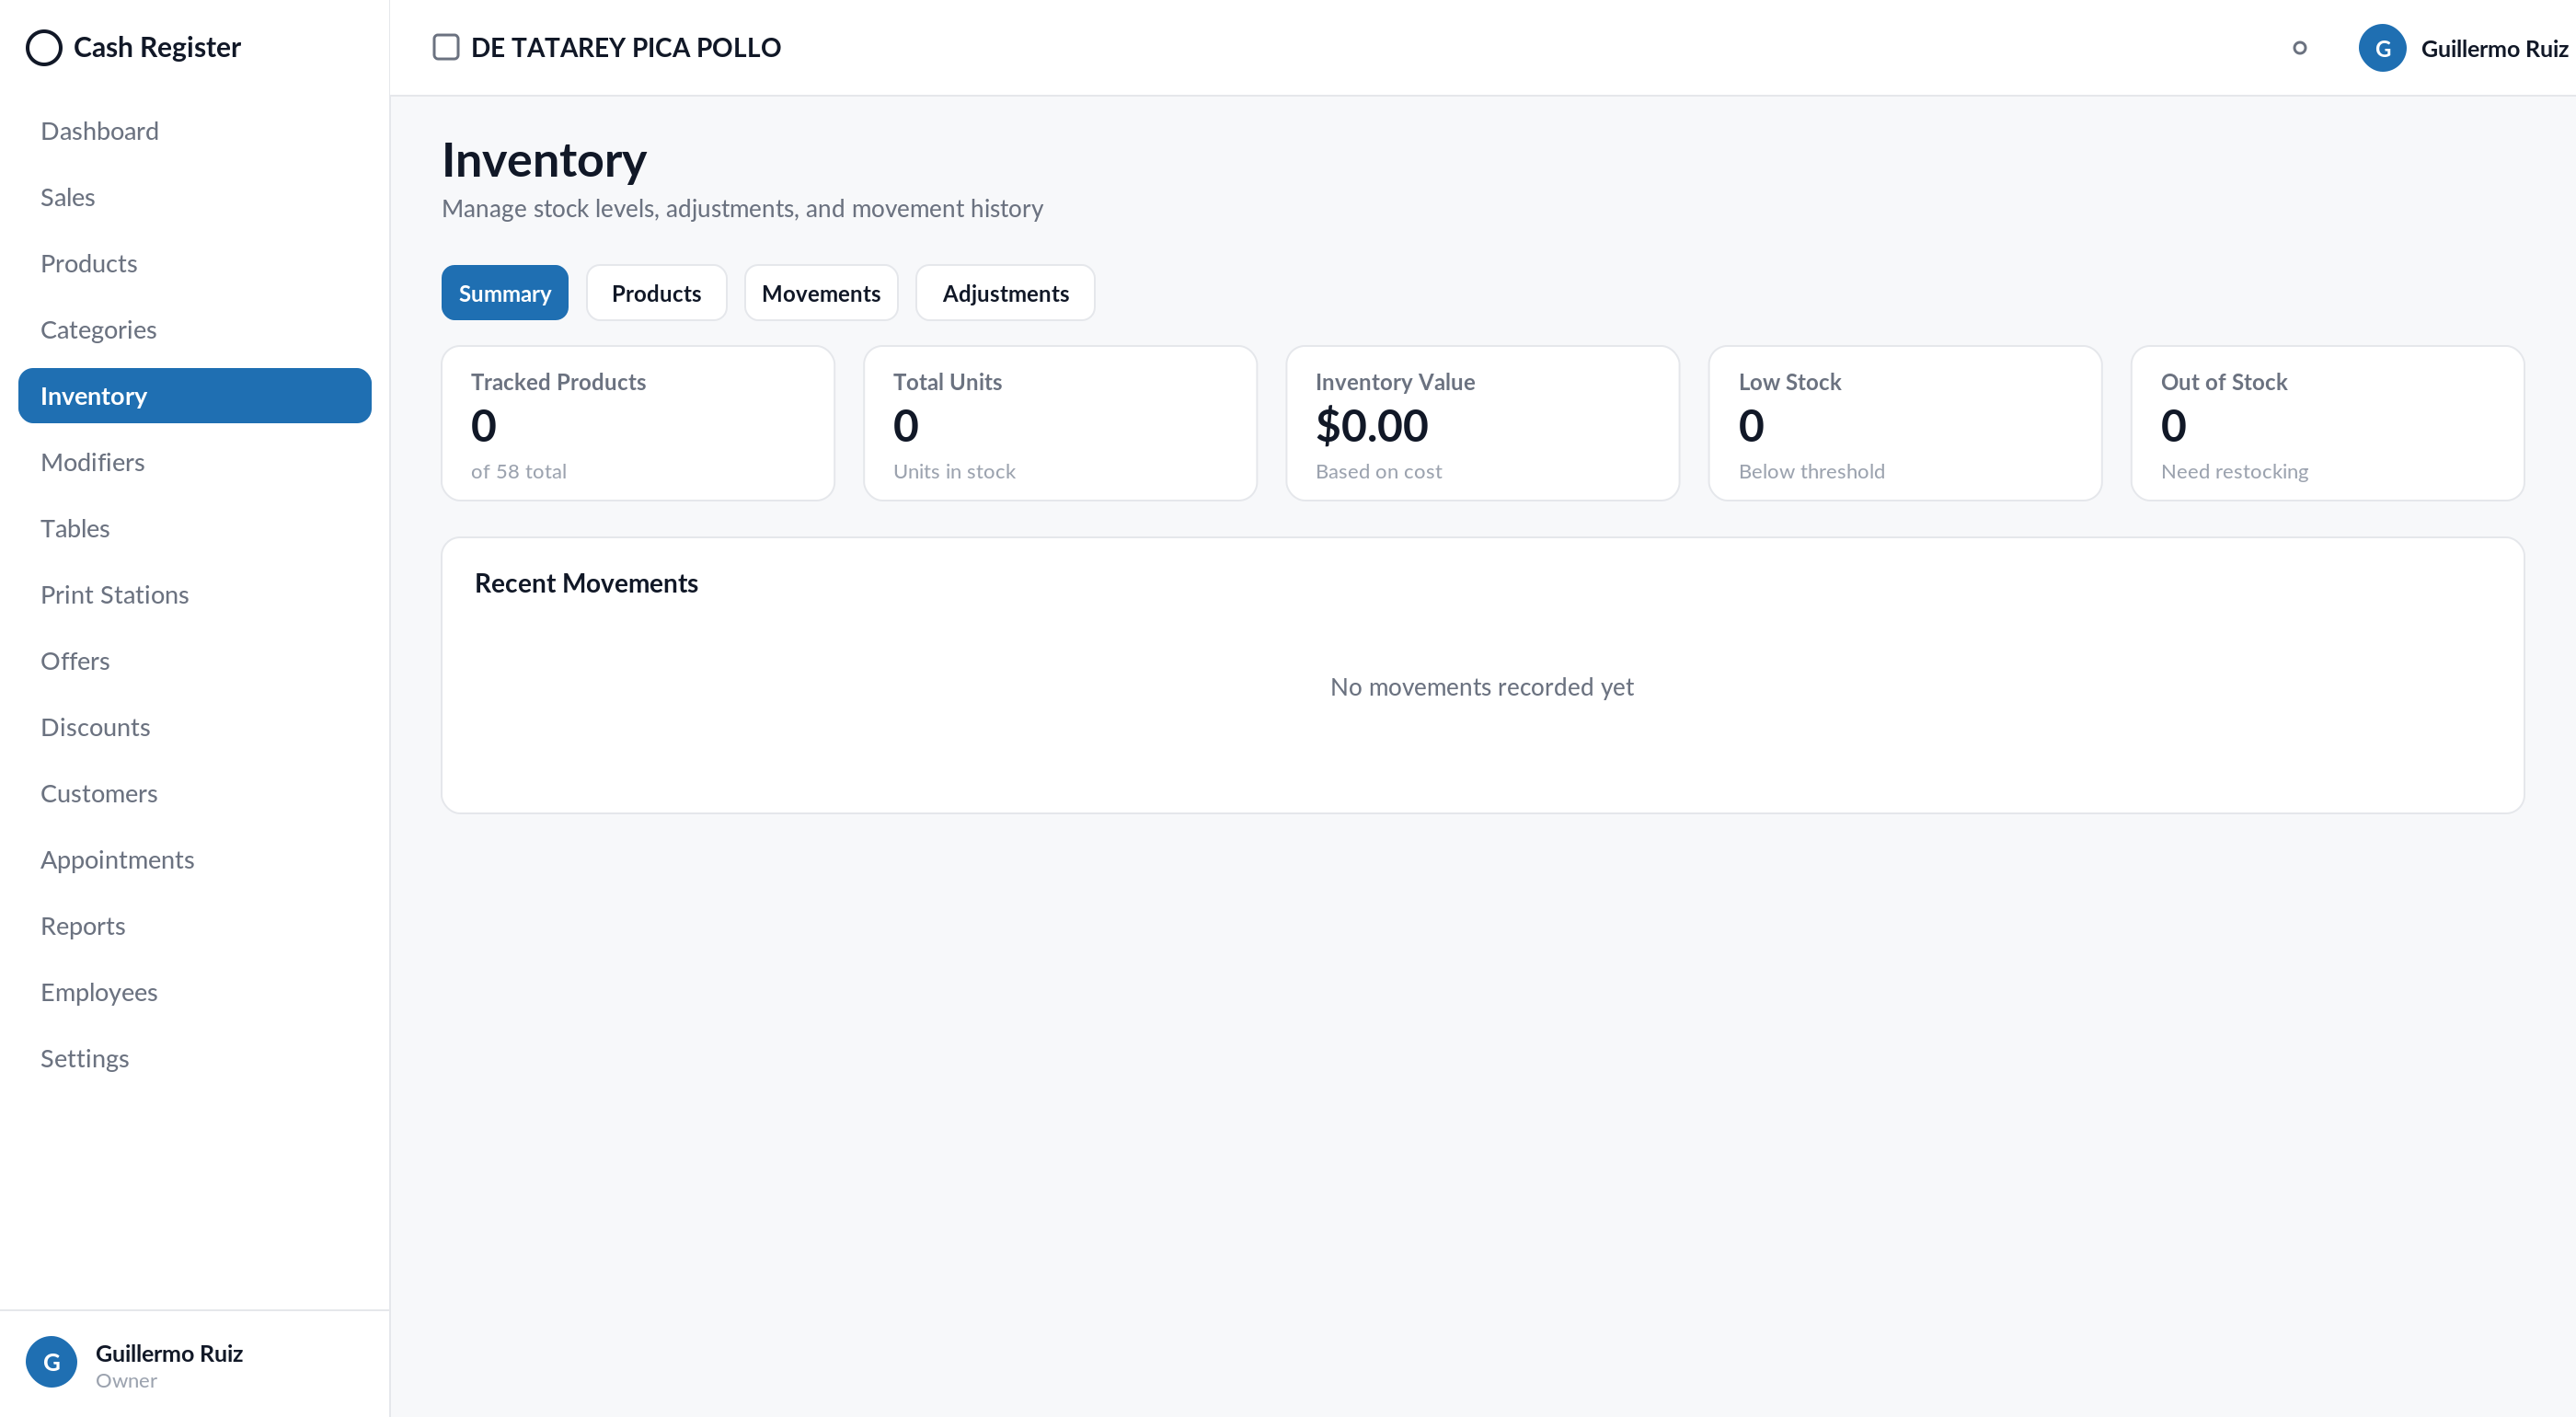
Summary / Products / Movements / Adjustments tabs: stock with value at cost, tracked products, in/out history and manual adjustments. Adjustments made on the POS or the Scanner app show up here too.
7. Modifiers
Option groups for menu items (sizes, extras, preparations), with required/optional rules and extra charges. Add Modifier Group creates the group; assign it to products on the product's Restaurant tab.
8. Tables (and floor plan)
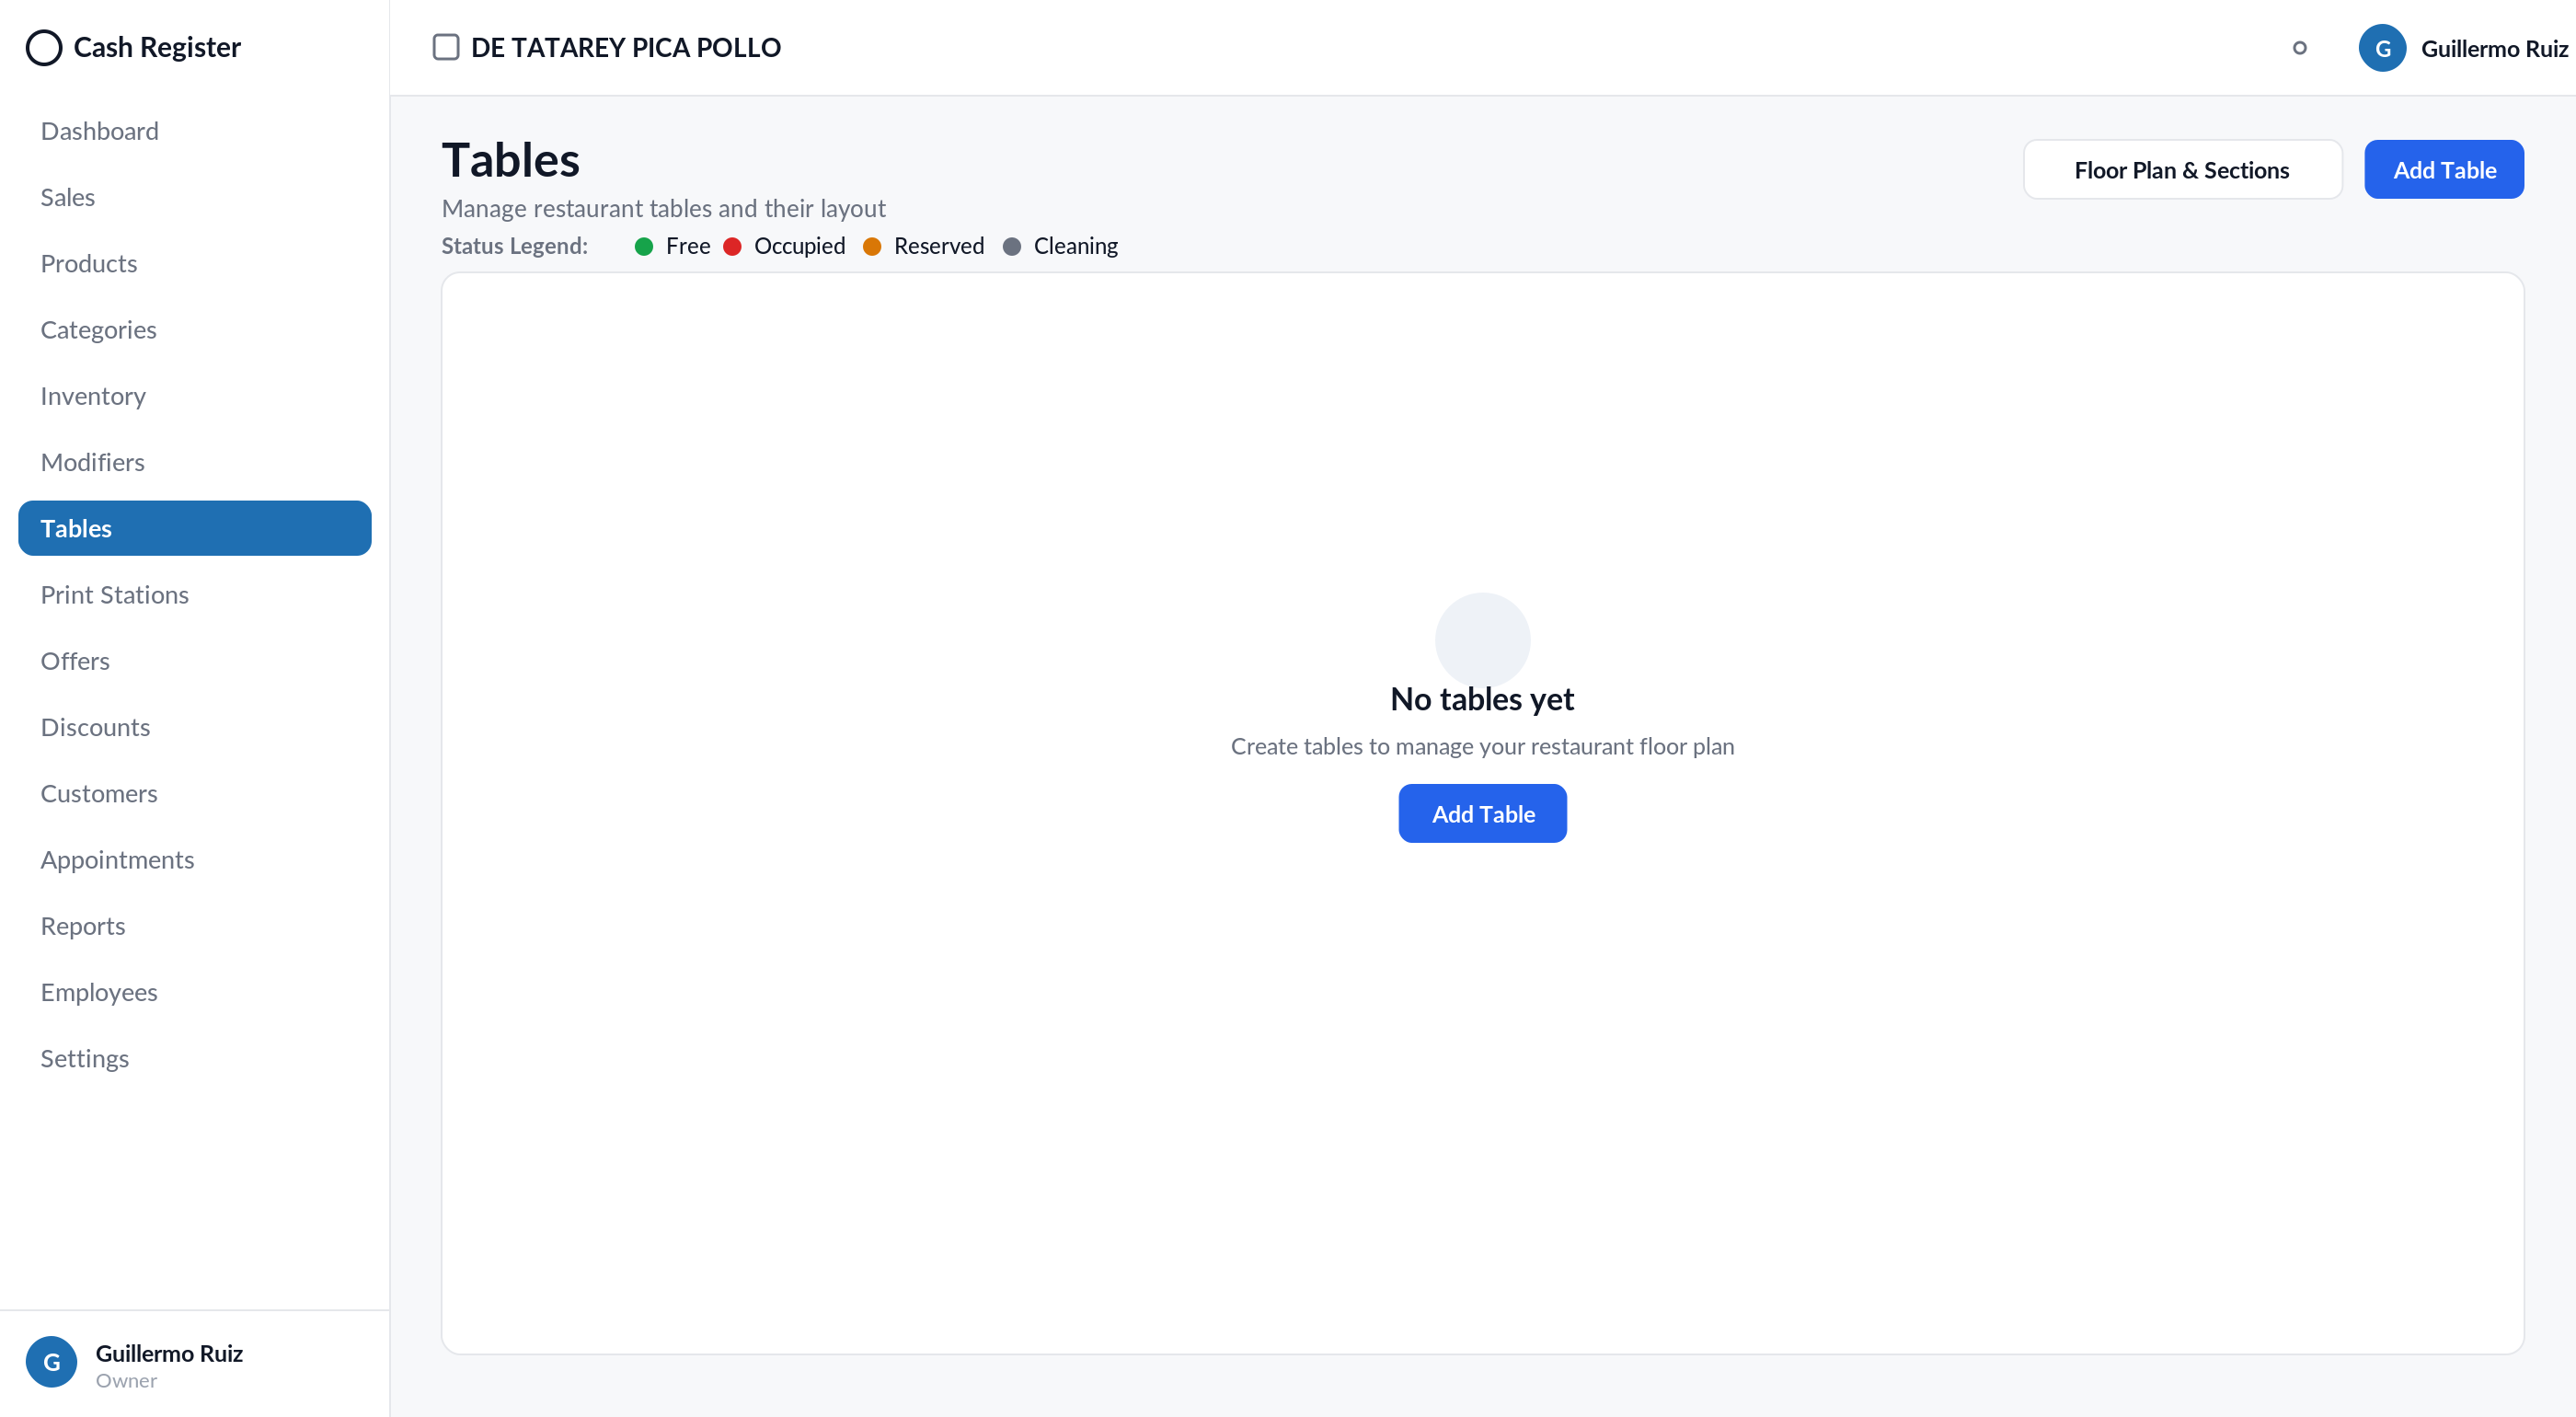
Restaurant tables with status (Free, Occupied, Reserved, Cleaning). Floor Plan & Sections opens the floor editor: sections (Main, Bar…) and each table's position/capacity — exactly what the POS shows under Tables. The user-facing table name is the display name.
9. Print Stations
Print stations (Kitchen, Bar…) and which products/categories route to each. This drives kitchen tickets and the Kitchen Display station filter.
10. Offers and Discounts
- Offers: quantity promotions, e.g. "10 for $2".
- Discounts: POS discount presets (Government, Senior…), with their percentage and an option to exclude already-discounted items. Add Defaults loads the typical set.
11. Customers
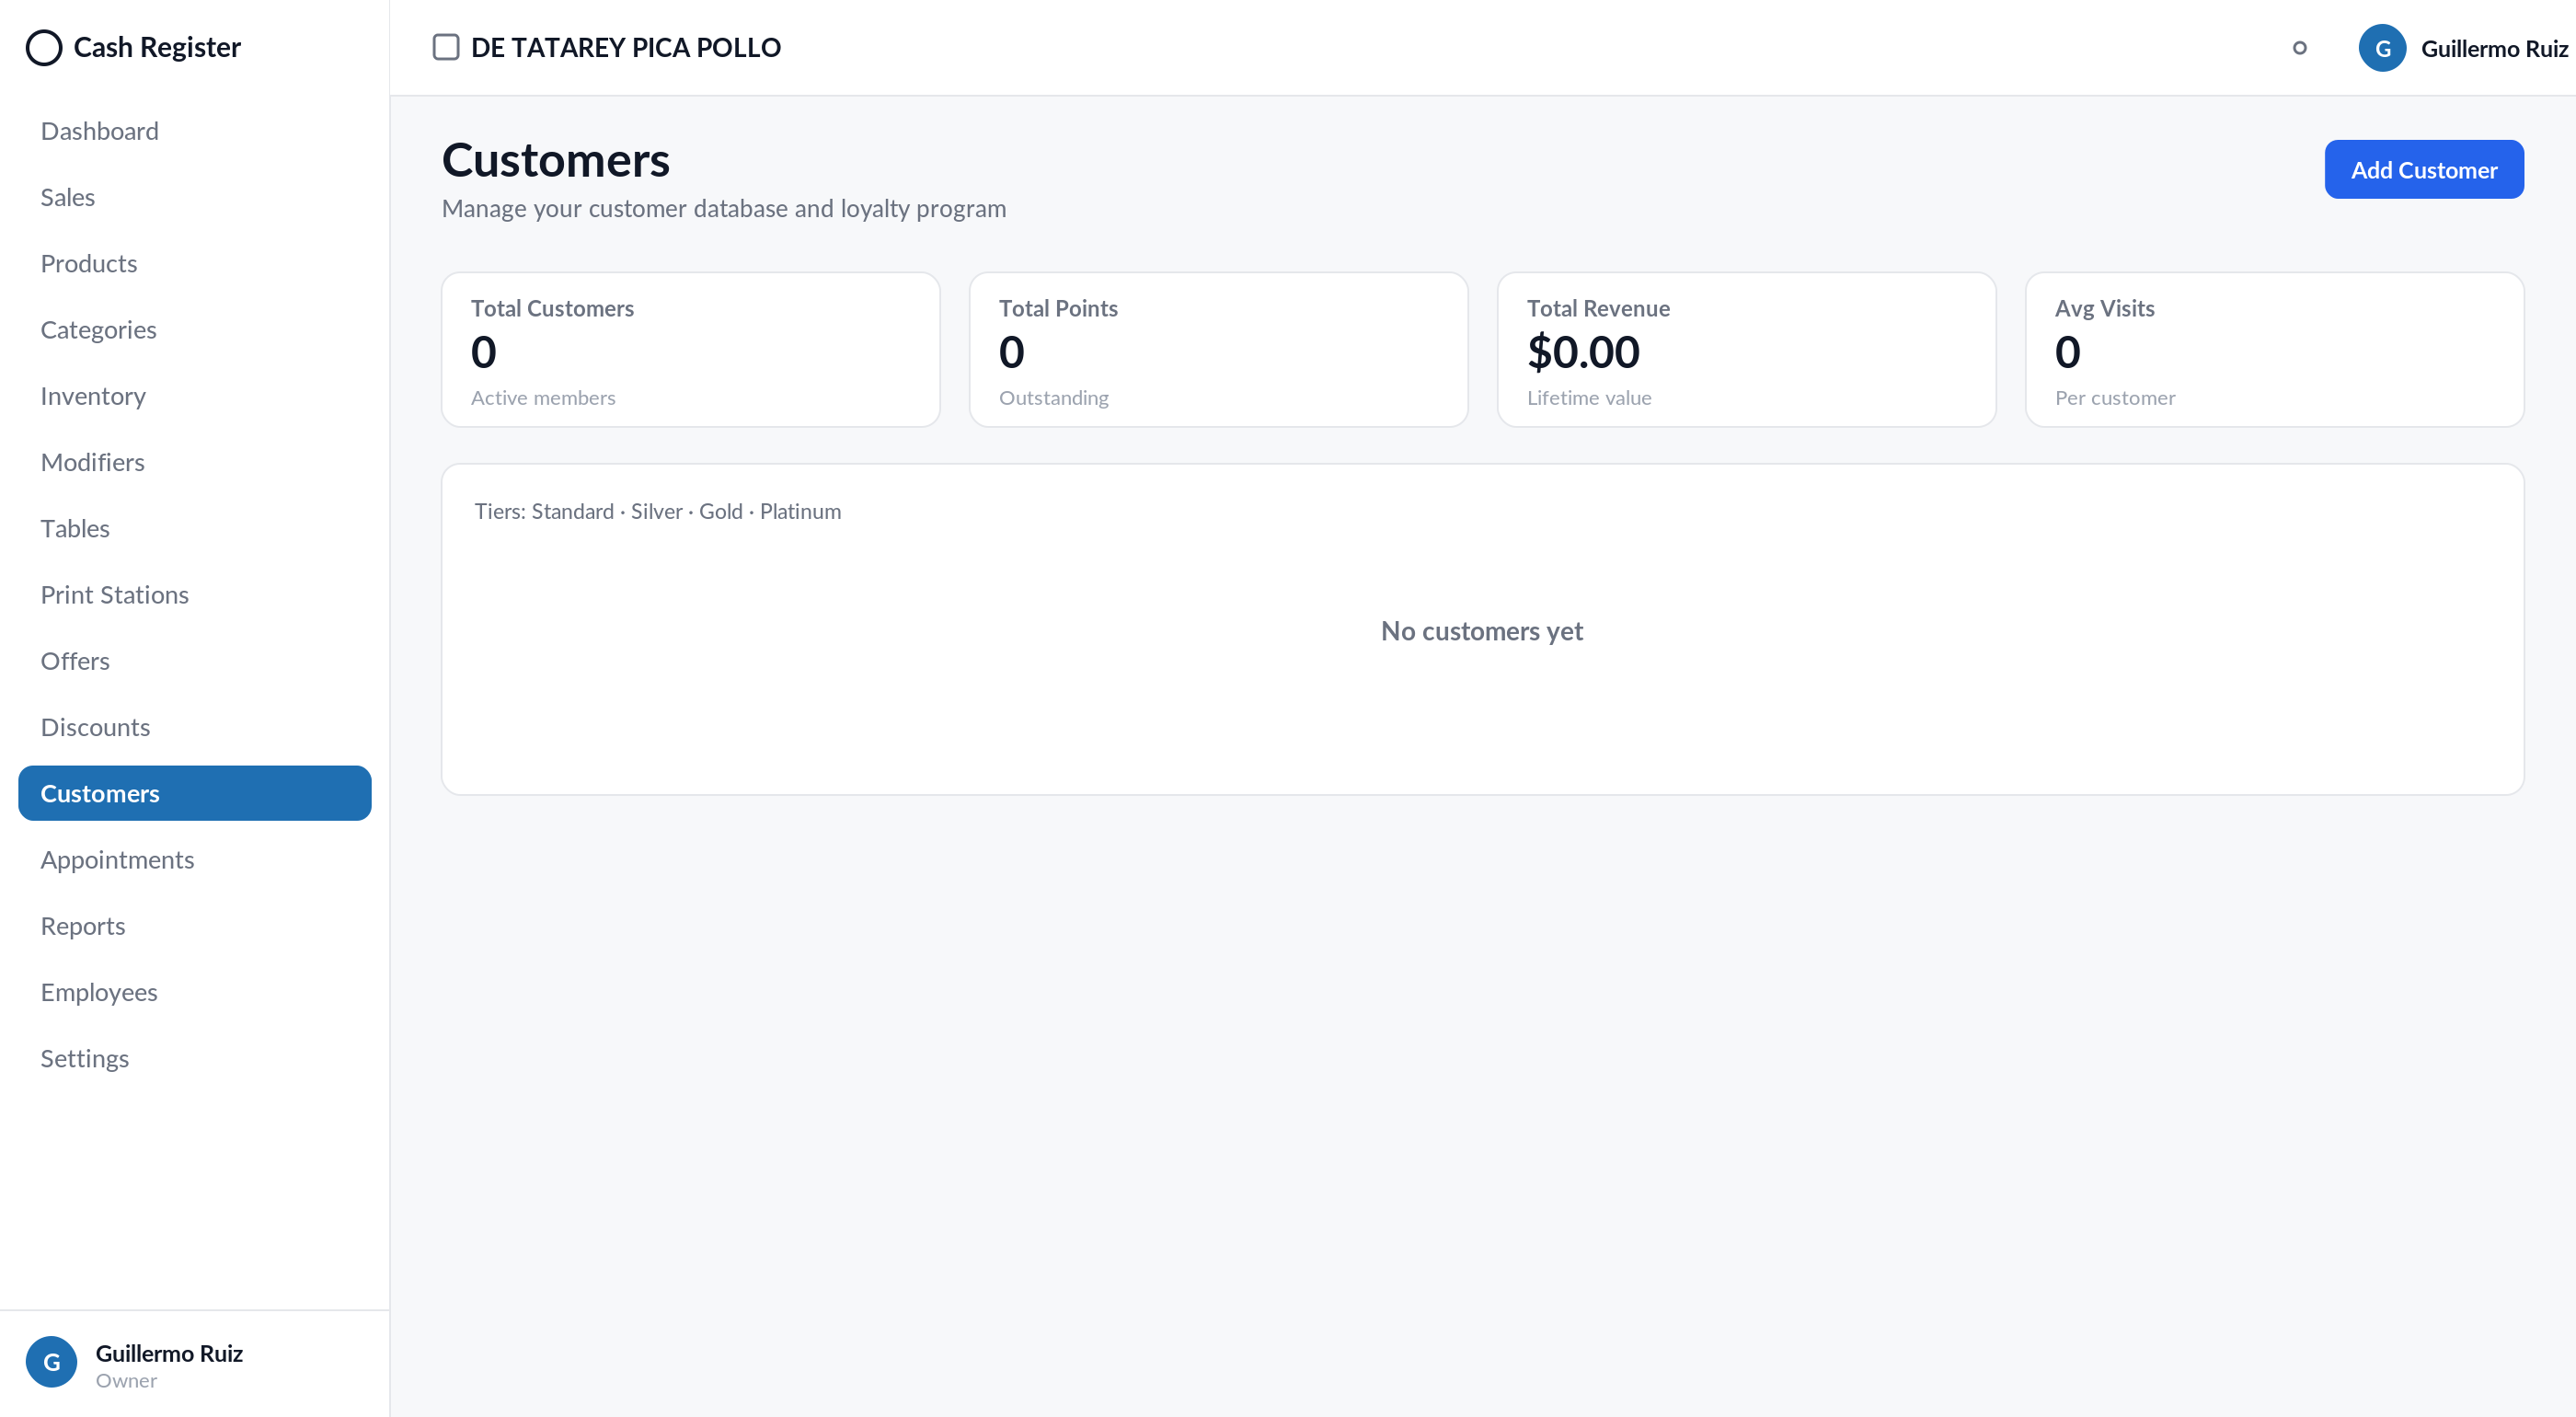
Customer base with loyalty: points, tier (Standard/Silver/Gold/Platinum), total spent, visits and last visit. Add Customer creates customers; data is shared with the POS.
12. Appointments
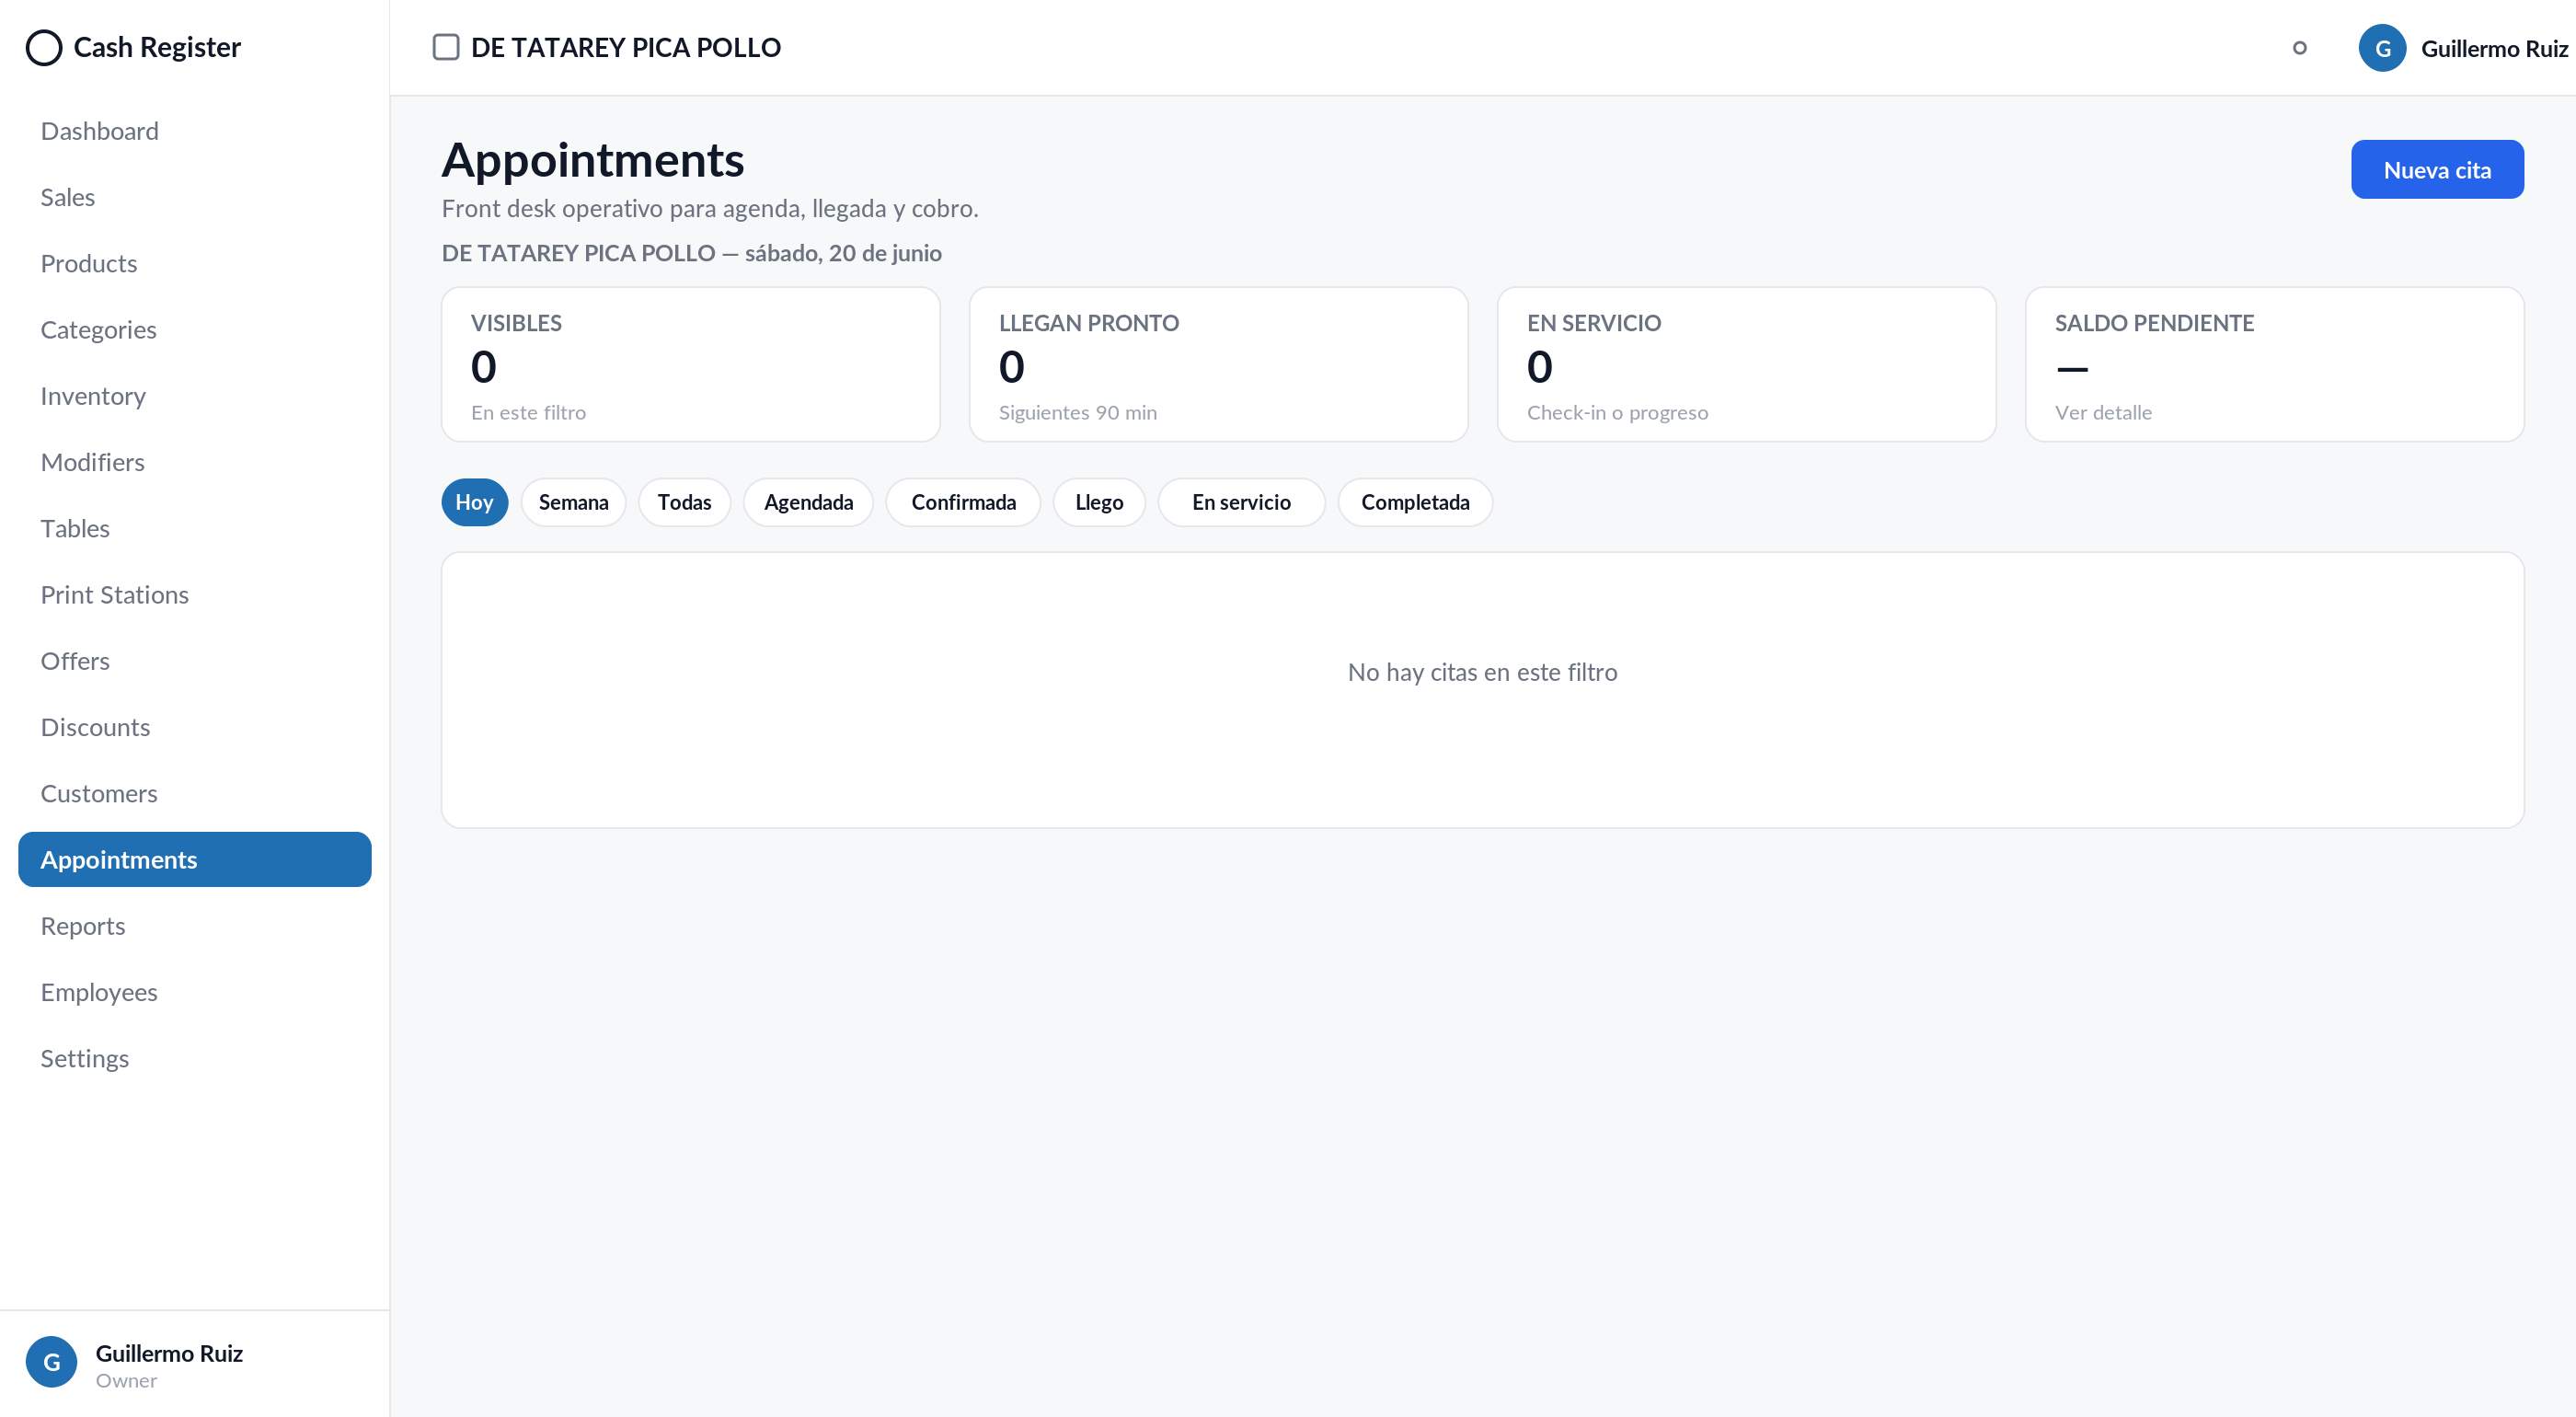
The appointment front desk: scheduling, arrival and checkout, with range and status filters, plus New appointment. Online bookings (from the storefront) arrive here for confirmation; deposits paid online show as prepayments. (See also the POS Services mode manual.)
13. Reports
Sales reports by range: totals, by tender, by product and by employee, with export. The POS Z closings are visible for reconciliation as well — including the Z's Delivery Platforms section (prepaids per platform and marketplace-remitted tax). The Delivery Platforms Report tab lists every platform transaction (Uber Eats, online orders) with a per-provider summary and CSV export.
14. Employees (and permissions)
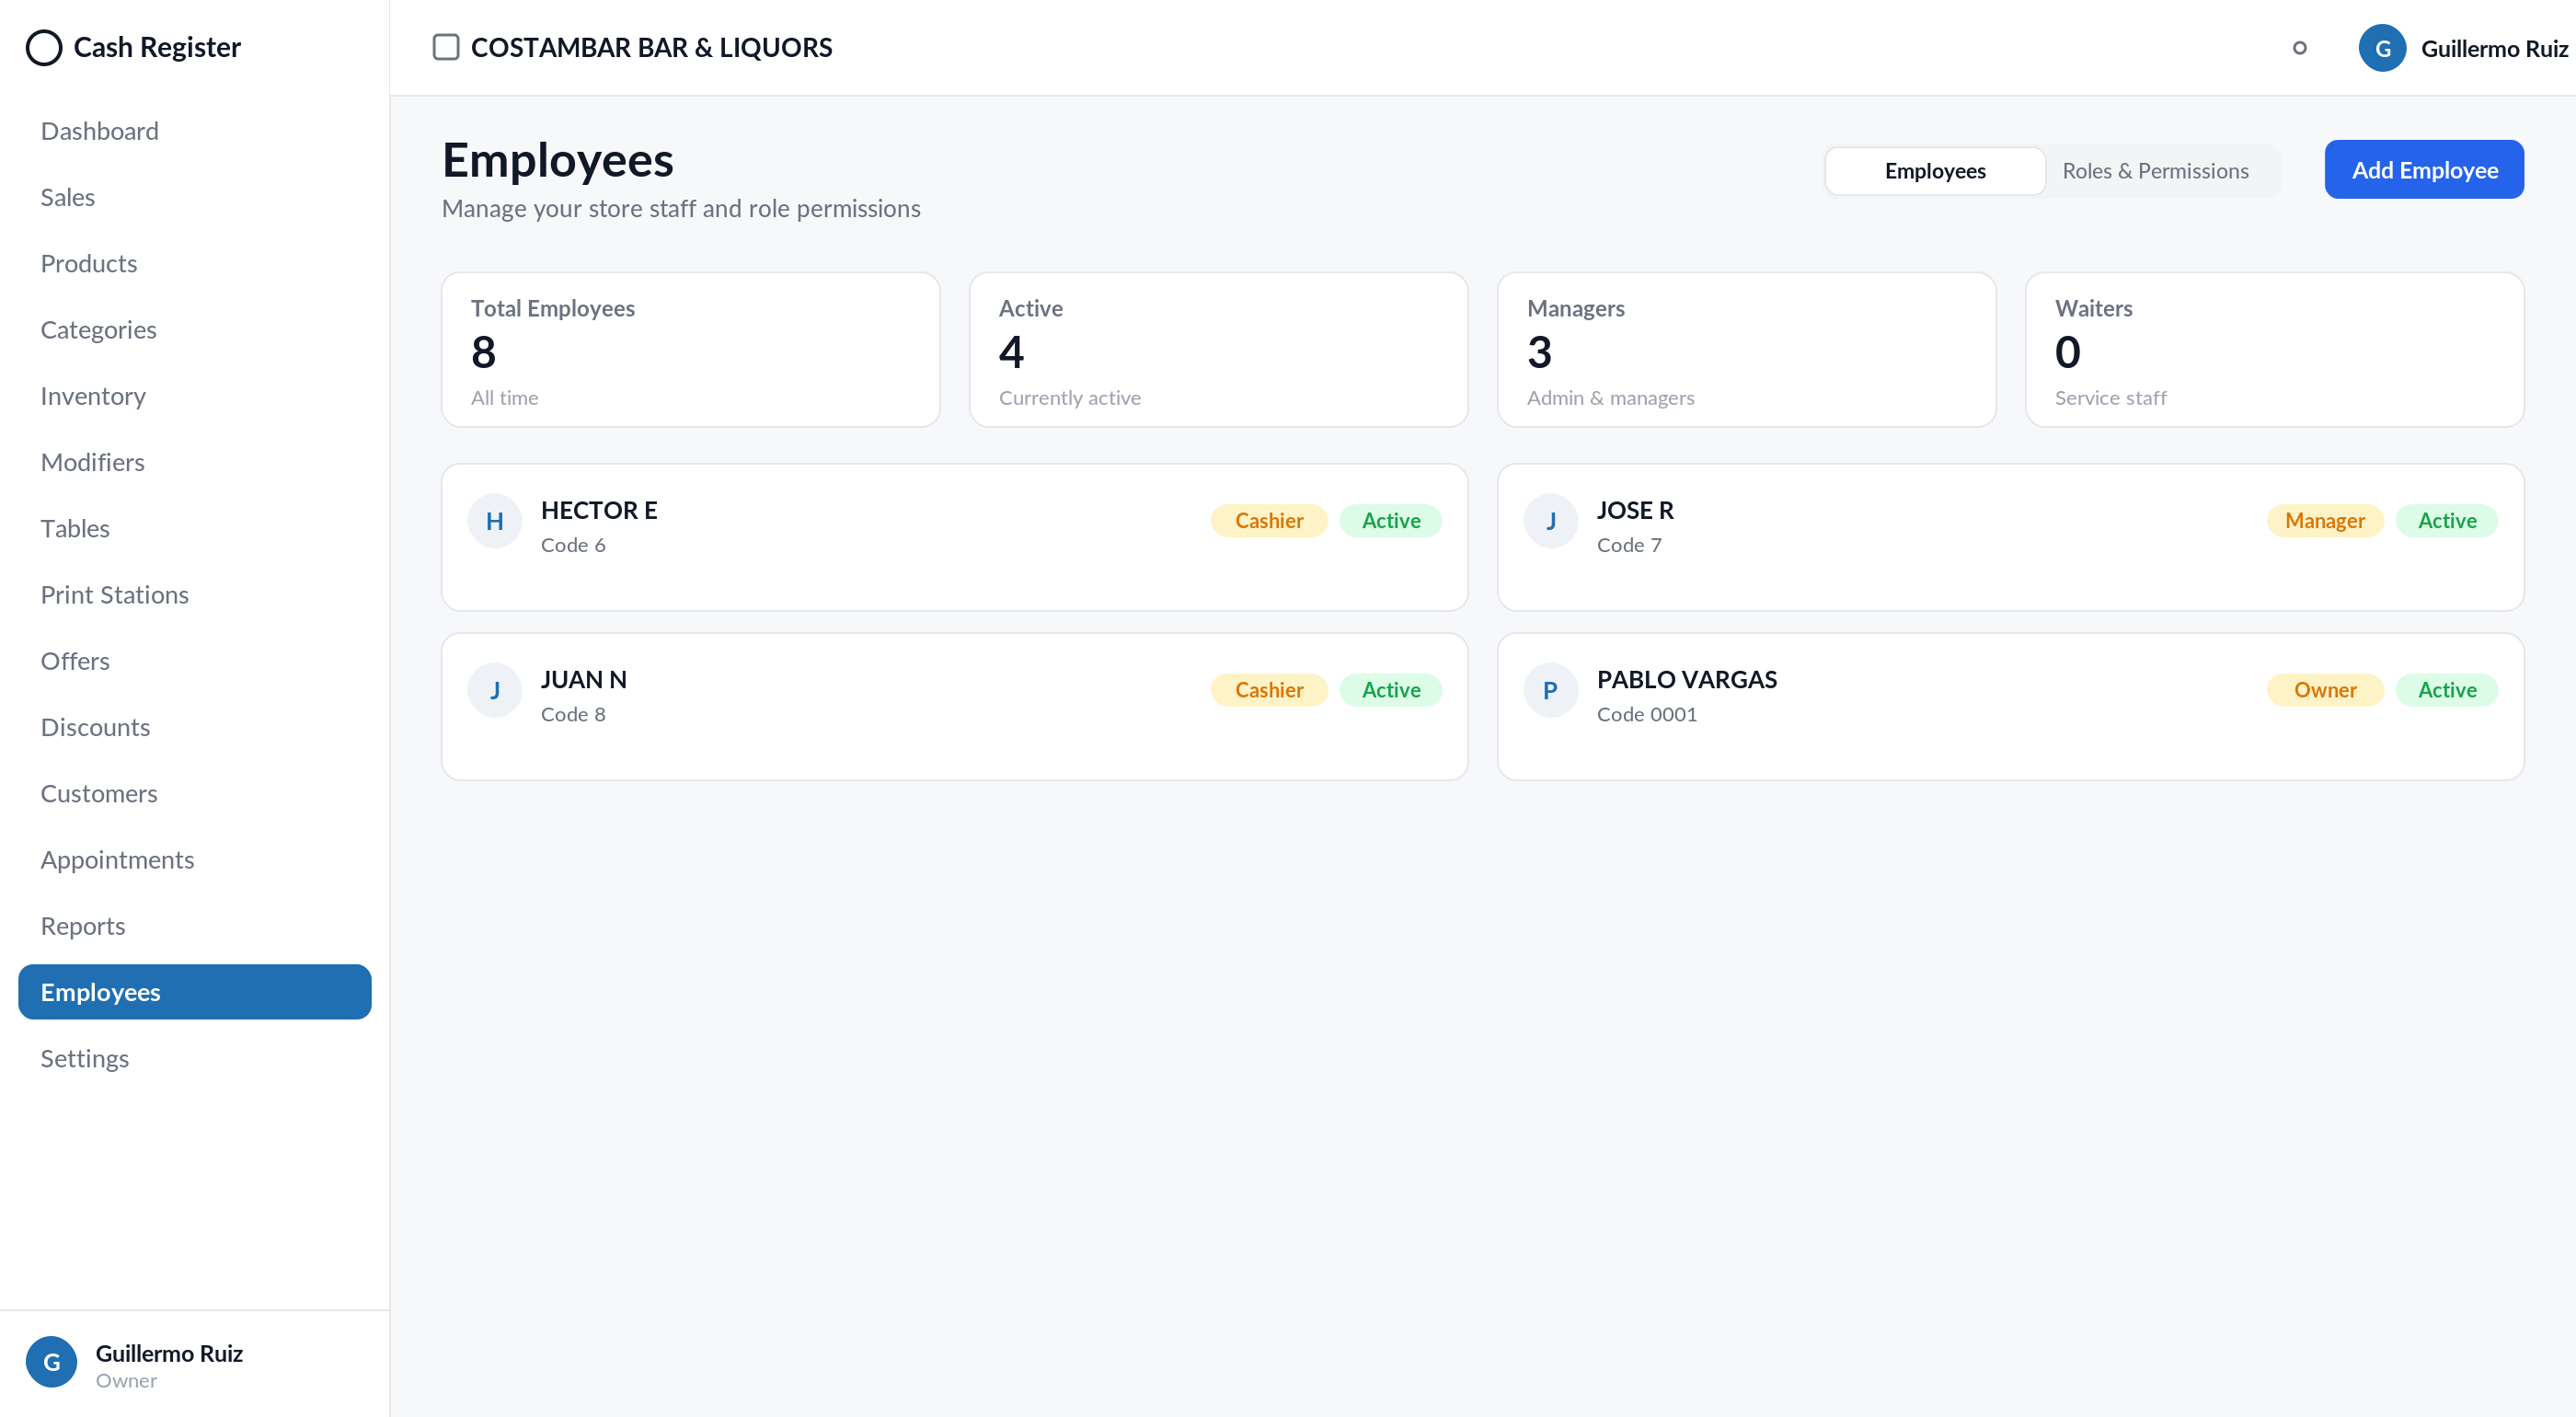
Employees tab
Staff cards with role, contact, status and portal access. Filters by role (Cashier, Waiter, Supervisor, Manager, Admin, Technician) and status.
Add Employee opens the tabbed form — Basic Info, Role & Wages, Service Setup, Portal Access:
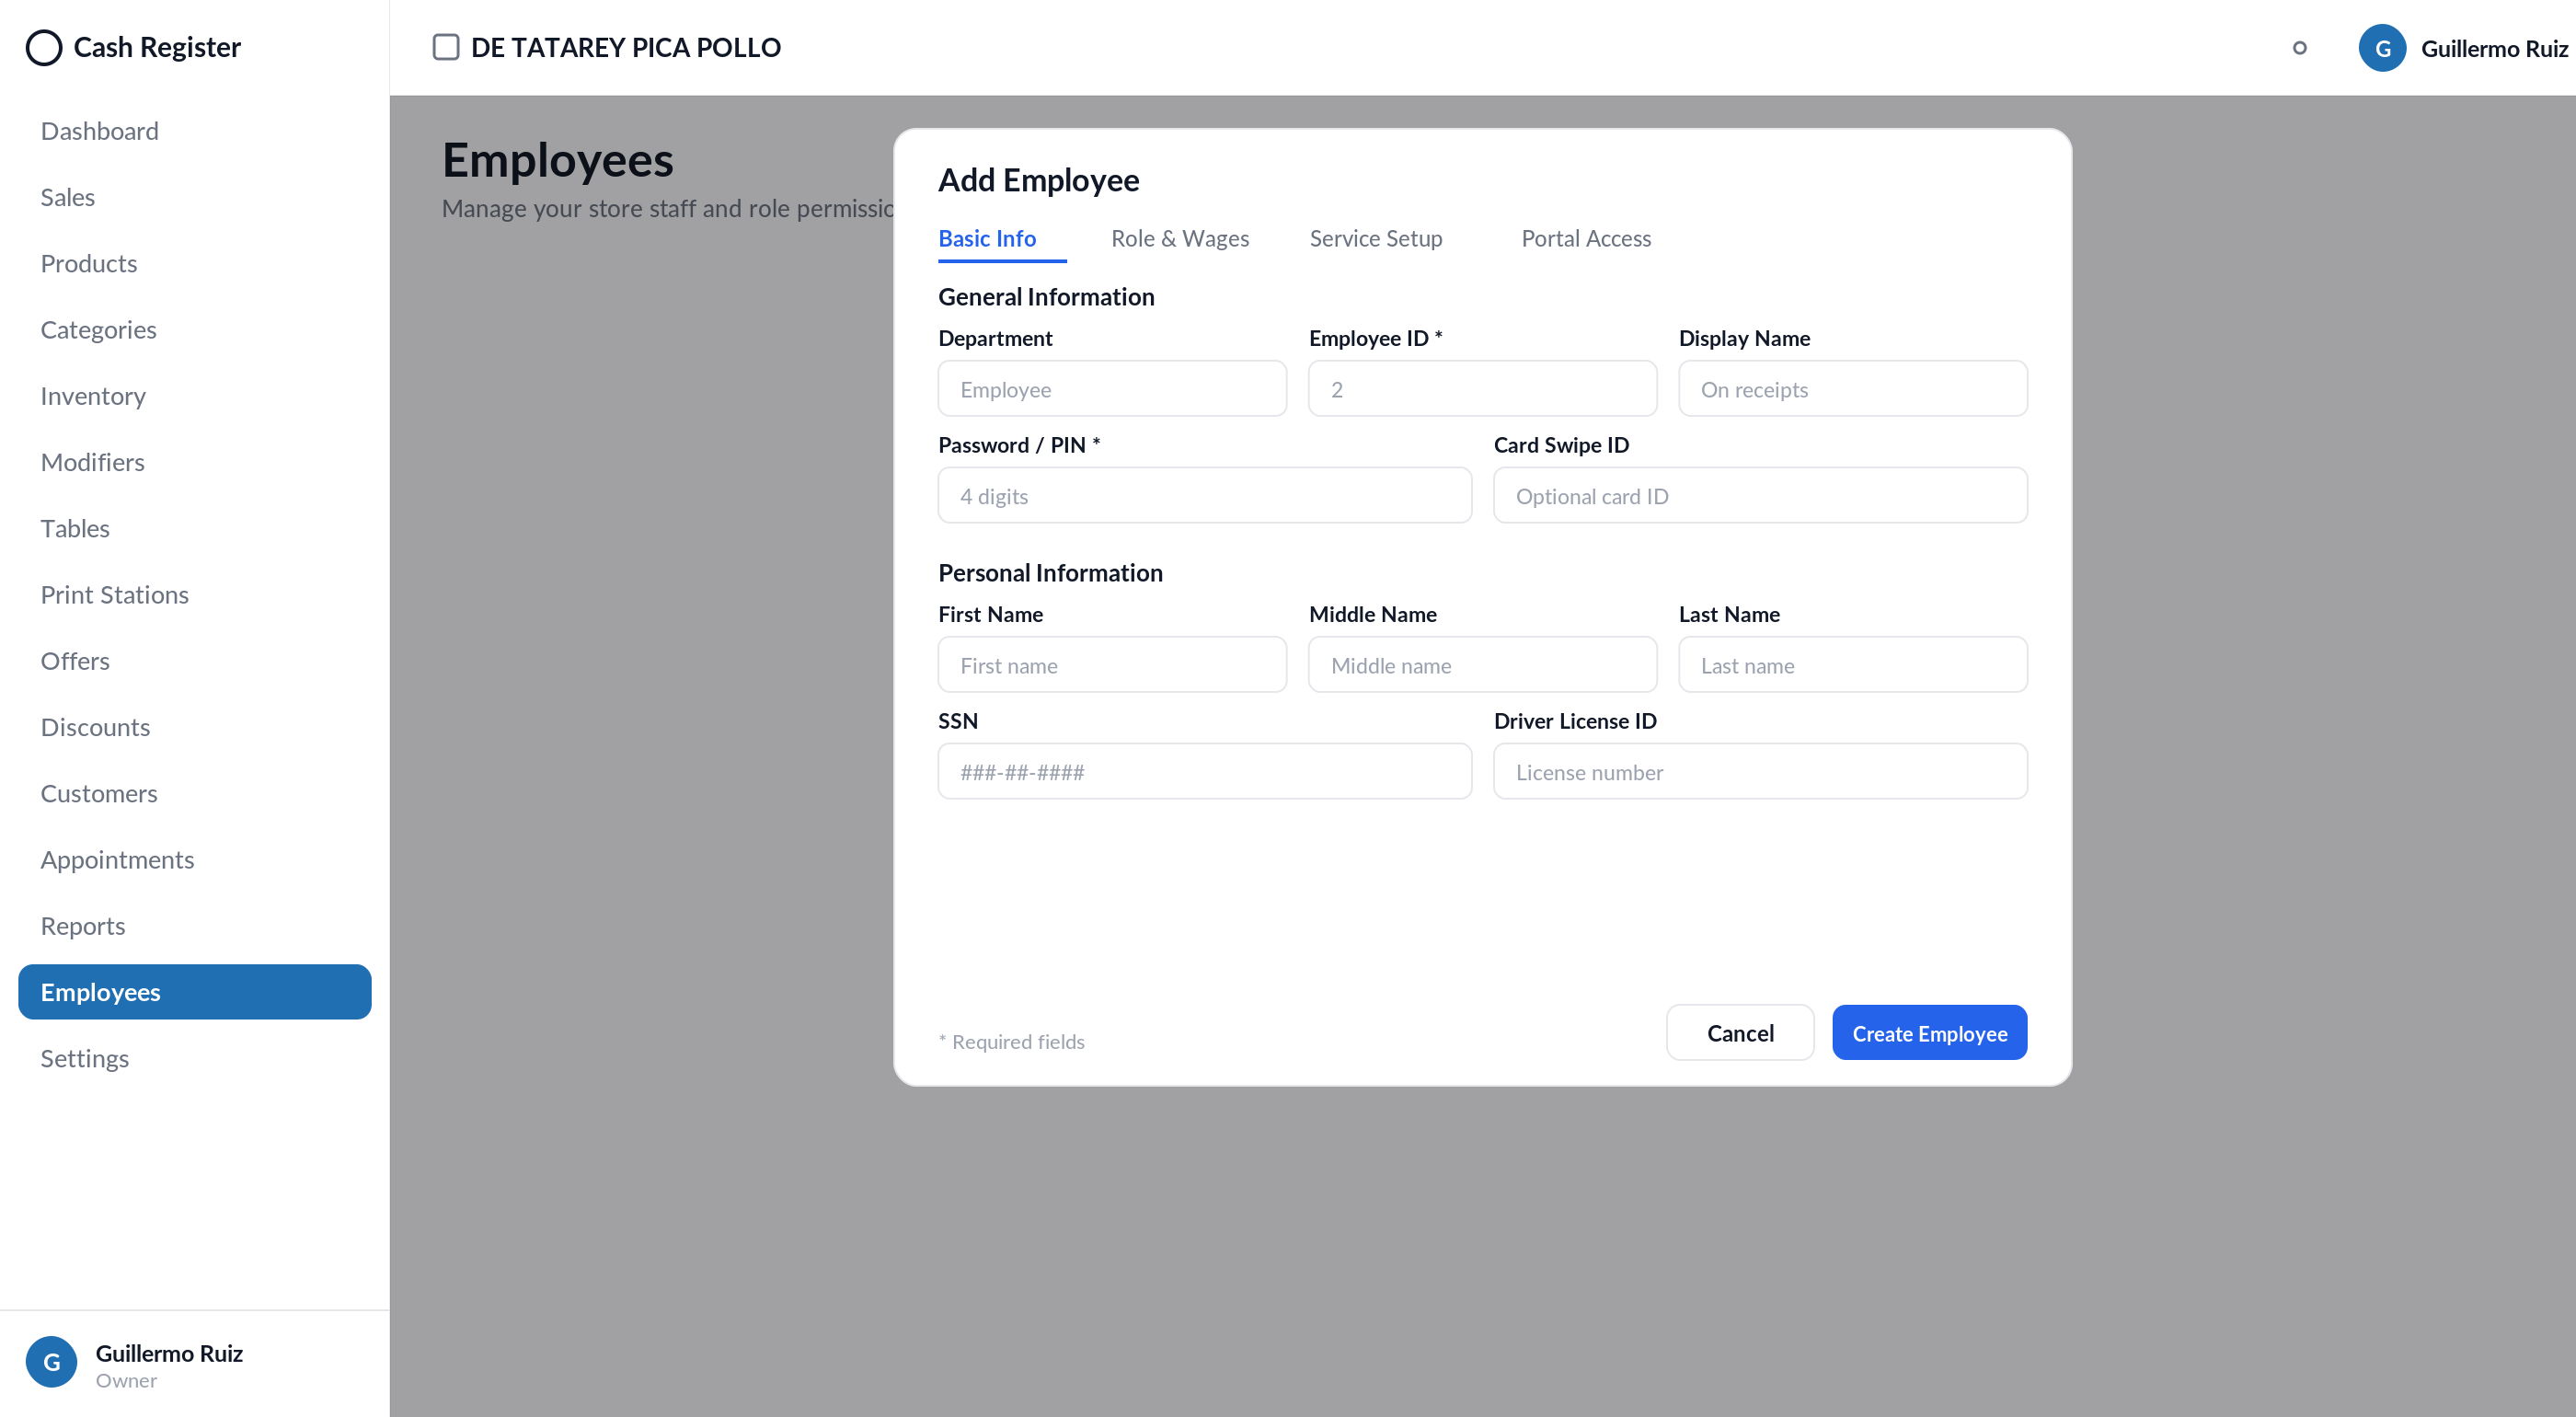
It includes Employee ID, display name, a 4-digit PIN (with auto-generate), Card Swipe ID, languages, photo, personal data (SSN encrypted) and wages (Role & Wages tab, used by payroll/timesheets).
Roles & Permissions tab
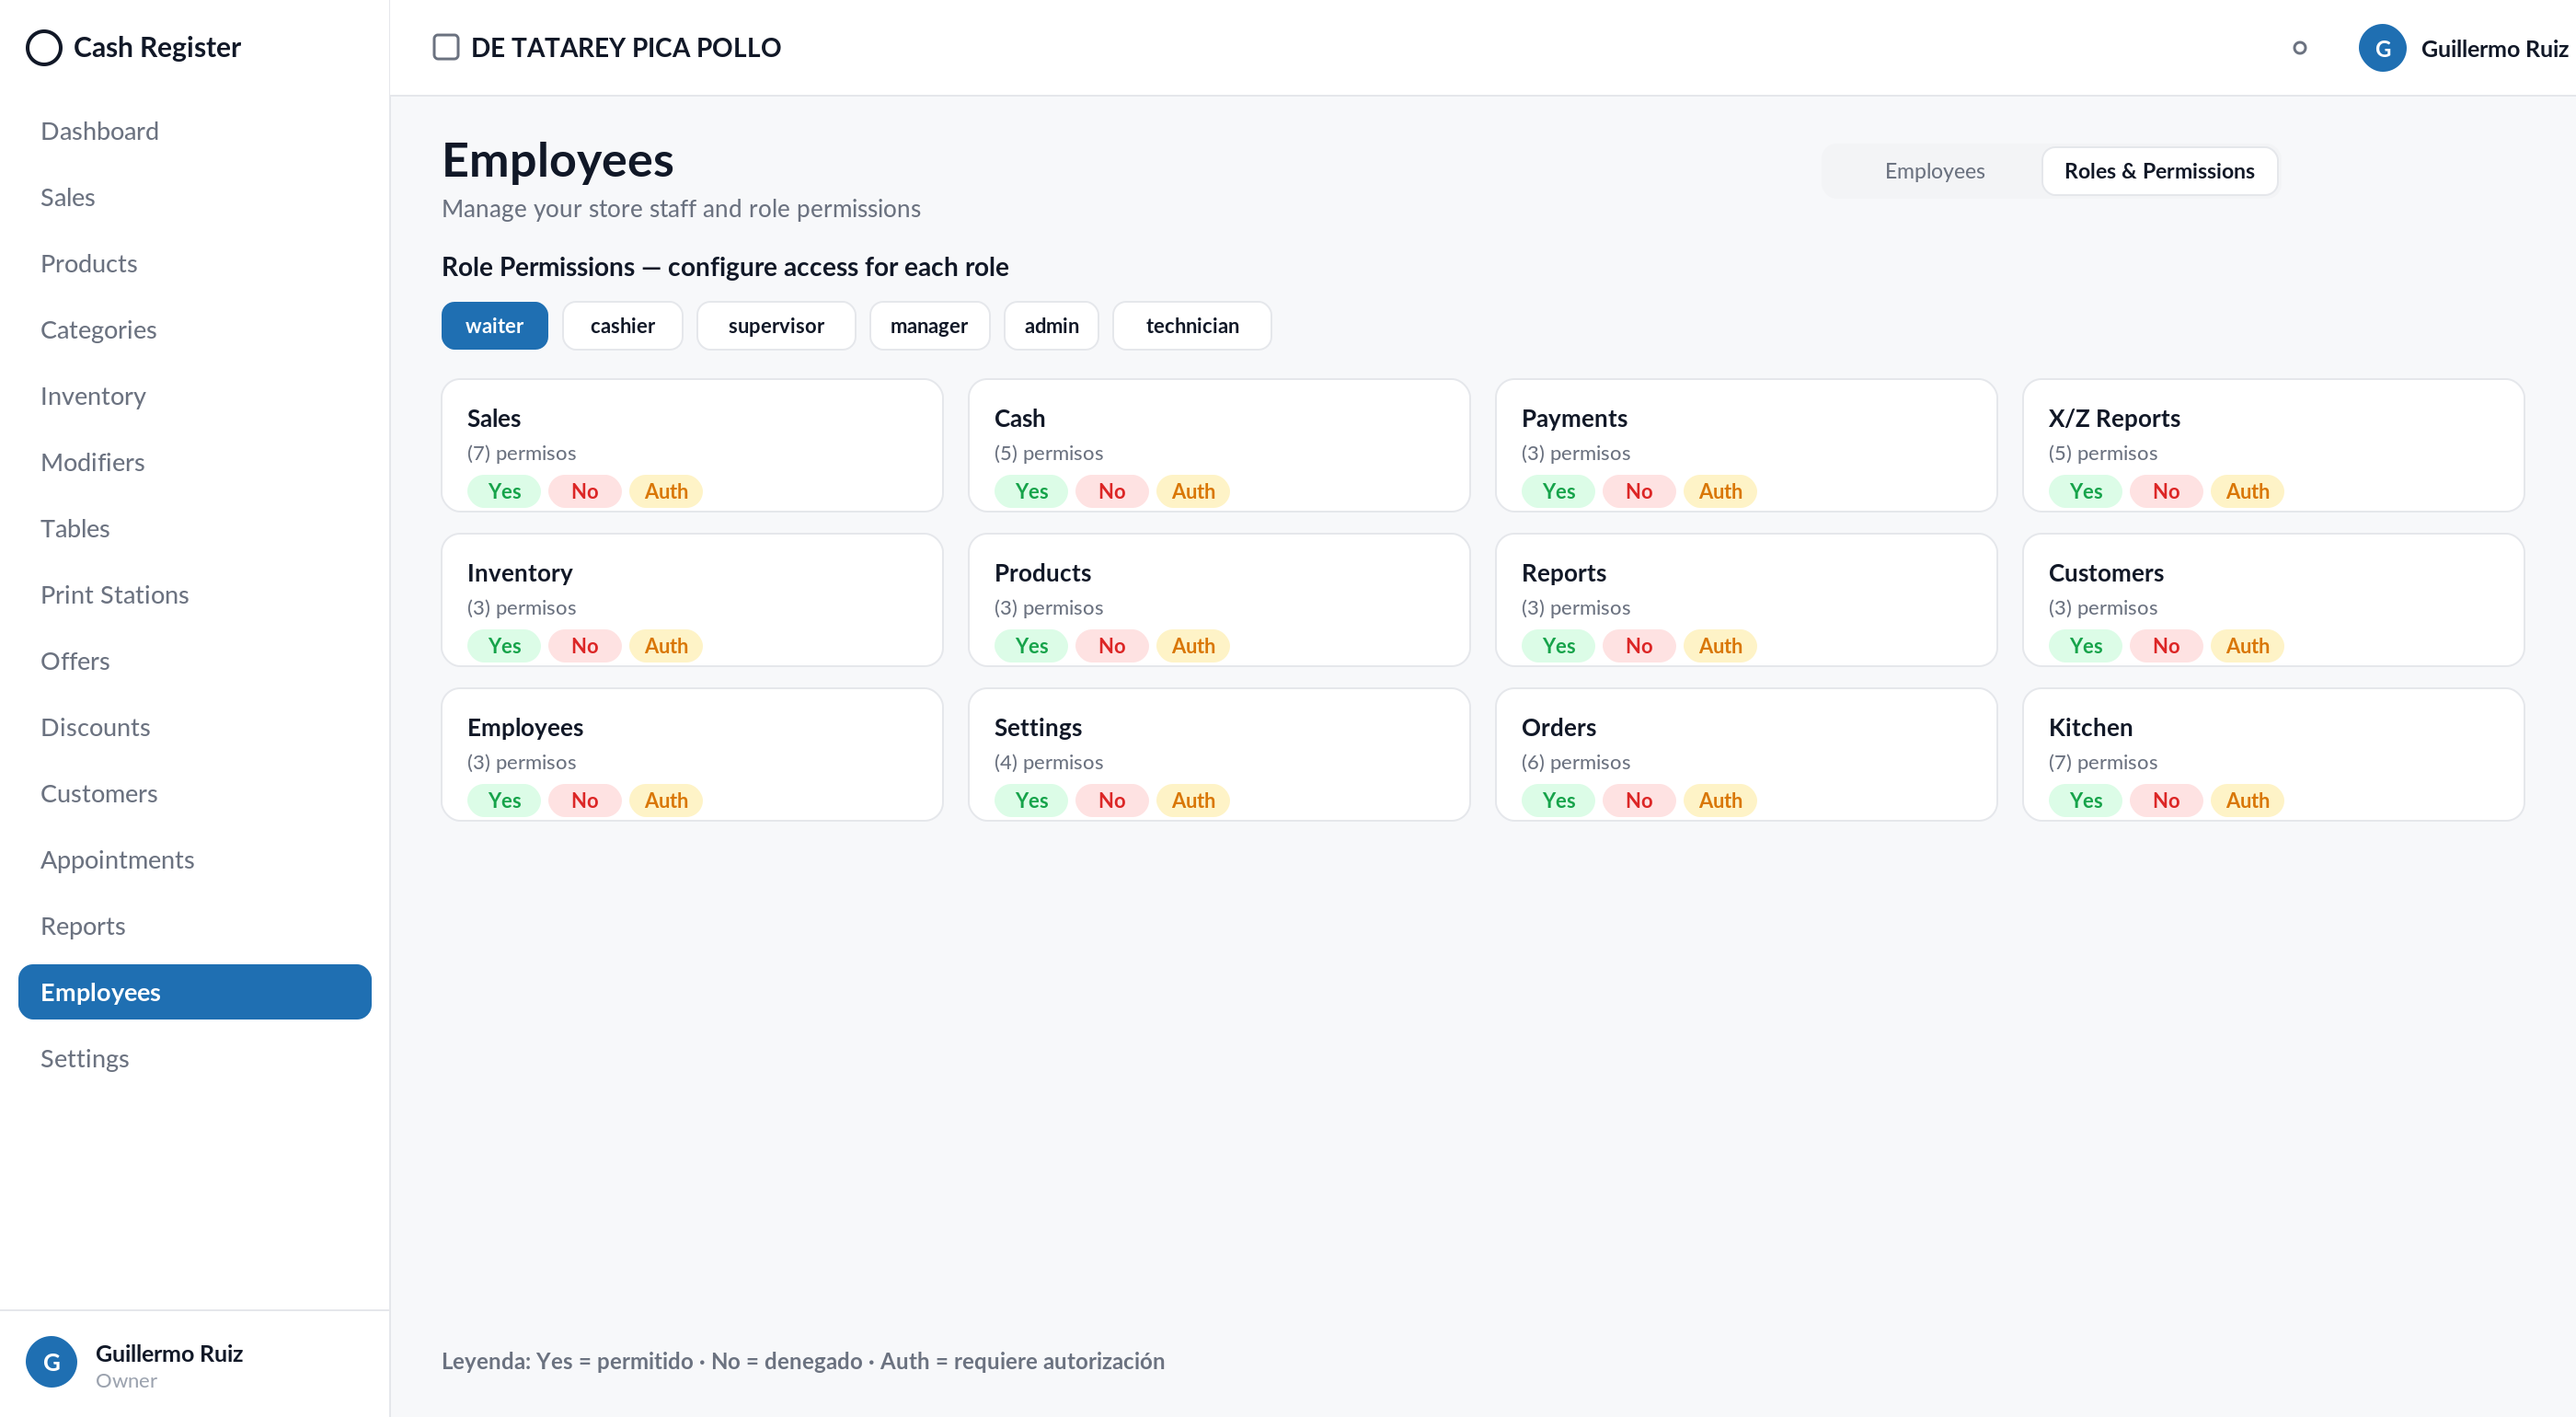
A matrix of ~80 permissions per role (waiter, cashier, supervisor, manager, admin, technician), each set to one of three values:
- Yes — allowed.
- No — denied.
- Auth — requires a supervisor's authorization on the POS.
Groups: Sales, Cash, Payments, X/Z Reports, Inventory, Products, Reports, Customers, Employees, Settings, Timesheet, Technical, Orders, Tables, Kitchen, Delivery, Billing and Waiter Session. Per role you also define whether it requires an open register and whether Clock In/Out is mandatory. Changes sync down to the terminals.
Drivers. The Deliver Orders permission (Delivery group) is what decides who appears in the list when the POS asks which employee is taking a delivery out, and that name prints on the delivery slip. The Driver role ships with it; in a small store where the cashier also runs deliveries, just grant the permission on their role. A permission set to Auth does NOT put the employee on the list — only a Yes does. The question itself is turned on in Settings → Restaurant → Ask who is delivering.
15. Settings
Per-store system configuration: business info, taxes (up to 3 decimals), payment methods and custom tenders, cash discount, tips (suggestions and auto-gratuity), receipts, barcodes (scale/embedded profile), appointments/ bookings, kitchen and customer display. Every change syncs to the terminals; the POS applies it in real time or with Sync Now.
Restaurant tab
Besides the kitchen (KDS, alert sound, auto-bump), default tables, auto-gratuity and the default print station, this is where the "Was the order delivered?" after payment card lives — four toggles that change how a non-table order is closed:
| Toggle | Default | What it does |
|---|---|---|
| Quick orders | On | After a counter sale is paid, the POS asks whether it was already handed over. |
| To-go orders | On | Same for orders the customer picks up. |
| Delivery orders | On | Same for orders delivered to the customer. |
| Ask who is delivering | Off | On handoff from Open Checks, the POS asks which employee is taking the order and prints it on the delivery slip. Only for stores with their own drivers. |
Turning a "delivered" toggle off does not complete the order by itself: the POS returns to the home screen and the ticket stays with the kitchen until someone marks it ready on the Kitchen Display. That is the right setting when the cashier takes the money and someone else hands the order over.
16. Storefront (your online store)
The Storefront module publishes your business's public page at shop.gcrpos.com/your-store, connected to the same catalog as the POS.
Storefront is a paid add-on ($25/month per store). GCR enables it per store from the admin panel; until it is enabled the section does not appear in the portal and the public page is not published. Invoicing (On Account) is the other add-on on the same scheme. Ask your representative for either.
Tabs:
- General: publish/unpublish, the slug (the page address) and the modules — one per business type: Online Orders (restaurants: pickup or own-courier delivery), Shop (retail) and Bookings (service appointments).
- Branding: brand color, logo and cover photo (the portal warns when the chosen color has poor contrast).
- Business Hours: weekly hours with per-date overrides — the page shows "Open now" and limits orders/bookings to those hours.
- Policies: deposit and cancellation policies (bookings).
- Ordering: auto-accept, prep time, pickup instructions and how customers pay — pay at pickup (at the counter) or prepaid by card (secure payment page); own-courier delivery: fee, minimum order and area note.
- Staff (Bookings): which employees take online bookings and their weekly schedule with time off — without a schedule, the employee shows no availability.
- Intake Forms (Bookings): questions the customer answers when booking.
What shows on the page is driven by the catalog: every product and category has its "Visible Online" toggle (also a quick "Web" column in the Products table).
How each thing reaches the POS: orders arrive as "Online Order" (accept/reject, prepaid or charged at the counter — see the Quick Service manual §10); bookings arrive "Pending approval" in the agenda with a POS alert, and a deposit paid online shows as the appointment's Prepaid amount. The customer gets automatic emails at each step (received, confirmed, ready for pickup / booking confirmed or rejected).
17. Delivery Integrations (Uber Eats)
Settings → Delivery Integrations connects the store to delivery platforms:
- Per provider: enable, auto-accept (recommended in production), prep time and the store link.
- Connect with Uber Eats: links your Uber store in one click (sign in with your Uber merchant account and authorize).
- Push Menu Now: uploads the menu to Uber from the portal catalog (categories, prices and modifiers) — the Uber menu is maintained from here, not in two places.
- DoorDash and Grubhub show as Coming soon.
Accepted orders reach the POS prepaid, print to the kitchen, and report under the Z's Delivery Platforms section (see §13). If the POS is closed, the cloud pauses the store on the marketplace and resumes it by itself.
18. Tips
- Always check which store is active (top left) before editing if your account has several stores.
- After big changes (catalog, taxes, permissions), run Sync Now on the terminals or wait for the automatic sync, then verify on the POS.
- Employees use their PIN on the POS; portal access is separate (the employee's Portal Access tab).